How to Open a BitLocker Encrypted Drive on Mac for Free?
As a Mac user, there’s no doubt that you’ve come across software that you want to use, only to find out that it is available only on Windows computers. One such software is the proprietary full disk encryption software, BitLocker, which encrypts an entire drive and protects your data from unauthorized access. Unfortunately, a lot of third-party programs online that allow Mac users to open encrypted drives, cost quite a bit, which doesn’t work for everyone. If you are looking for a way to open BitLocker on Mac for free, please read on to find 2 easy solutions that allow you to access, edit, and modify your BitLocker drive on Mac.
How to Open a BitLocker Encrypted Drive on Mac for Free? 2 Easy Solutions
If you are looking for a free way to open a BitLocker encrypted drive on your Macbook, Macbook Air, Macbook Pro, or iMac, you will need to either install Windows directly onto your Mac or use a third-party solution. Why is this? The BitLocker Drive Encryption software was developed by Microsoft specifically for Windows operating systems, so there is no native Mac version currently available.
Option 1: Install Windows on Mac with Boot Camp
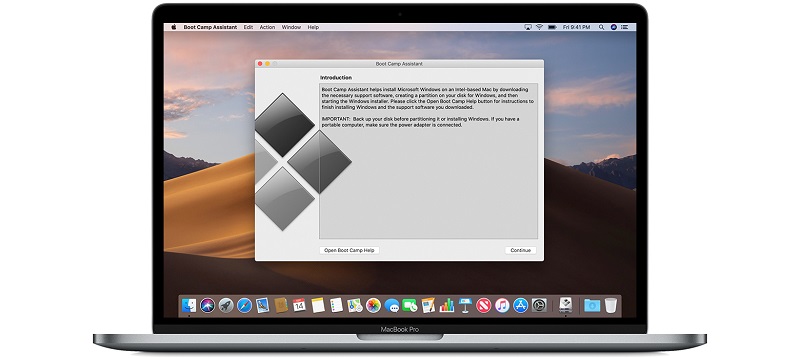
One of the easiest ways to open BitLocker on Mac for free is by installing Windows through Mac’s Boot Camp program. When you install Windows 10 onto your Mac through Boot Camp, then you will be able to seamlessly switch between these two operating systems, allowing you to access your encrypted BitLocker drive for free. We will outline what you will need to get this process started and teach you how to actually install Windows through Boot Camp.

Check This First: What You Need to Install Windows 10 on Mac
You will need one of the following Mac models: Macbook 2015+, Macbook Air 2012+, Macbook Pro 2012+, Mac Mini 2012+, iMac 2012+, iMac Pro (all models), or a Mac Pro 2013+. The “+” denoting the year or a later version (year) model.
You will need Boot Camp Assistant. This comes with your latest OS updates.
64GB free of storage space on your Mac startup disk. It is recommended that you have at least 128GB free of storage space as Windows updates take up a lot of room.
For iMac Pro or Mac Pro users, your startup disk needs as much free storage as the memory you have. So, if you have 128GB of RAM (memory), you need that much free storage space.
An external USB flash drive with 16GB+ of room unless using a hard disk to install.
You will need a 64-bit version of Windows 10 Home or Windows 10 Pro on a disk image (ISO), USB drive, or media disk. If it is the first time you are installing Windows, it needs to be the full version and not just an upgrade disk.
Here Is How to Install Windows on Your Macbook:
You will need to use Boot Camp Assistant, so make sure to find it on your Mac before starting the steps below.
Create a Windows Partition Using Boot Camp.
Open Boot Camp Assistant which is found in your Applications > Utilities Folder.
1. Insert your media disk or USB drive into your Mac. Boot Camp Assistant will use this to create a bootable drive for the installation process.
2. Set the size of the Windows partition. Read above for storage-space requirements. Set it carefully as you will not be able to change it later.
Format the Windows partition You Have Created.
Once Boot Camp is done creating the partition, you may need to format it. Typically the installer will format the Boot Camp partition automatically but sometimes it will ask you where you want to install Windows. If it asks, select the Boot Camp partition and format it.
Unplug & Install!
If you have any external devices that are not in use or aren’t required for the installation, unplug them. Then follow the on-screen instructions to install Windows.
Boot Camp Installer Window.
After Windows has been installed, your Mac will restart and open up a Boot Camp Installer window. This window will allow you to install Windows & Boot Camp drivers. If you never see the Boot Camp Installer window pop up, open it up manually and complete the installation from there.
Option 2: Open BitLocker Drive on Mac for Free with BitLockerGoMac
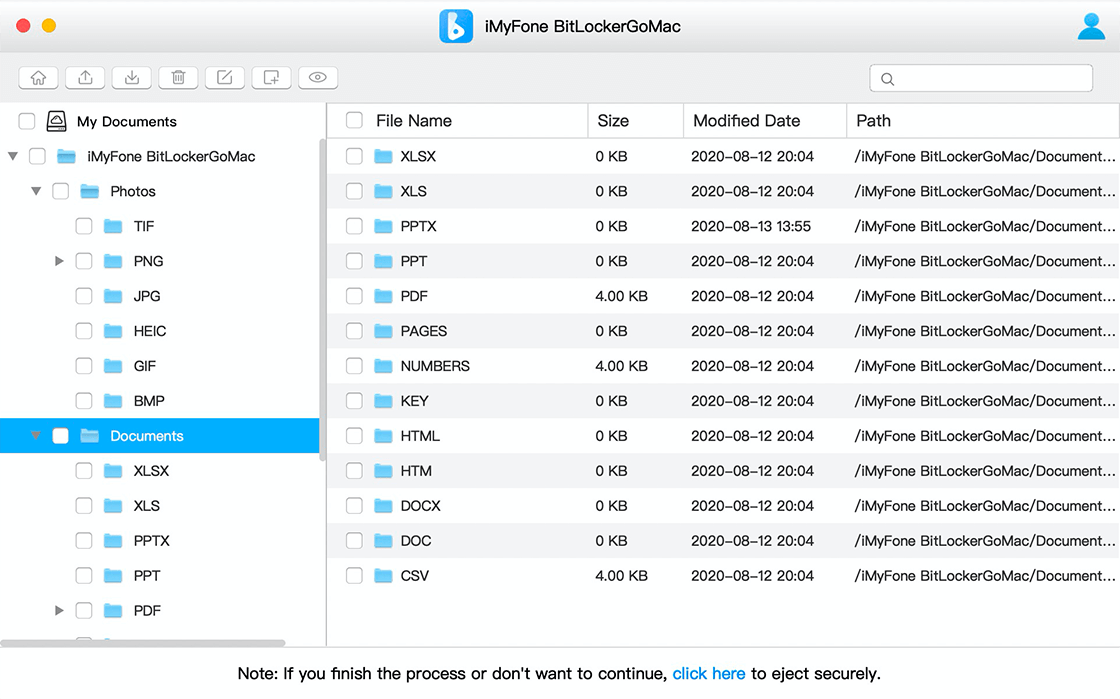
Another way you can open BitLocker on Mac for free is by using the trial version of BitLockerGoMac, which is a simple-to-use BitLocker for Mac tool. Simply download the trial version of the program. With the trial version, you can read BitLocker encrypted disk and preview file directory. The only thing you will need to supply is the password or the recovery key file to decrypt the encrypted drive. If you want to open, access, unlock, mount, read, and write BitLocker encrypted drive data on your Mac computer, you can purchase the full version.
Steps about How to Open a BitLocker Encrypted Drive on Mac for Free with BitLockerGoMac:
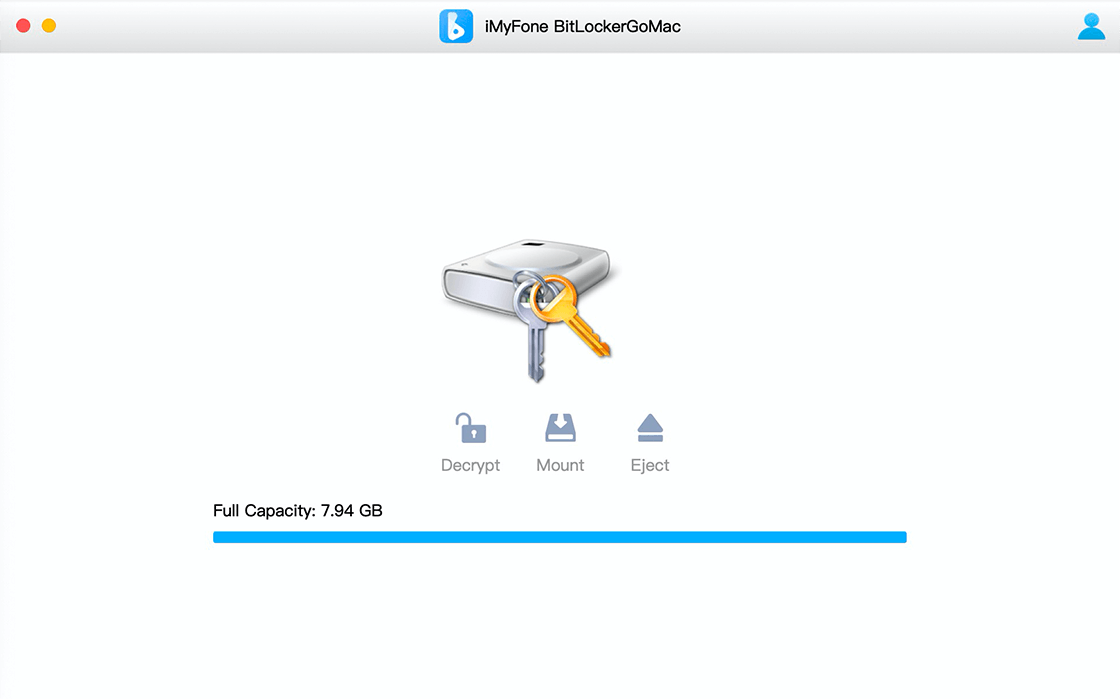
Step 1: Download, install & launch BitLockerGoMac on Mac. Then connect a BitLocker encrypted drive to your Mac.

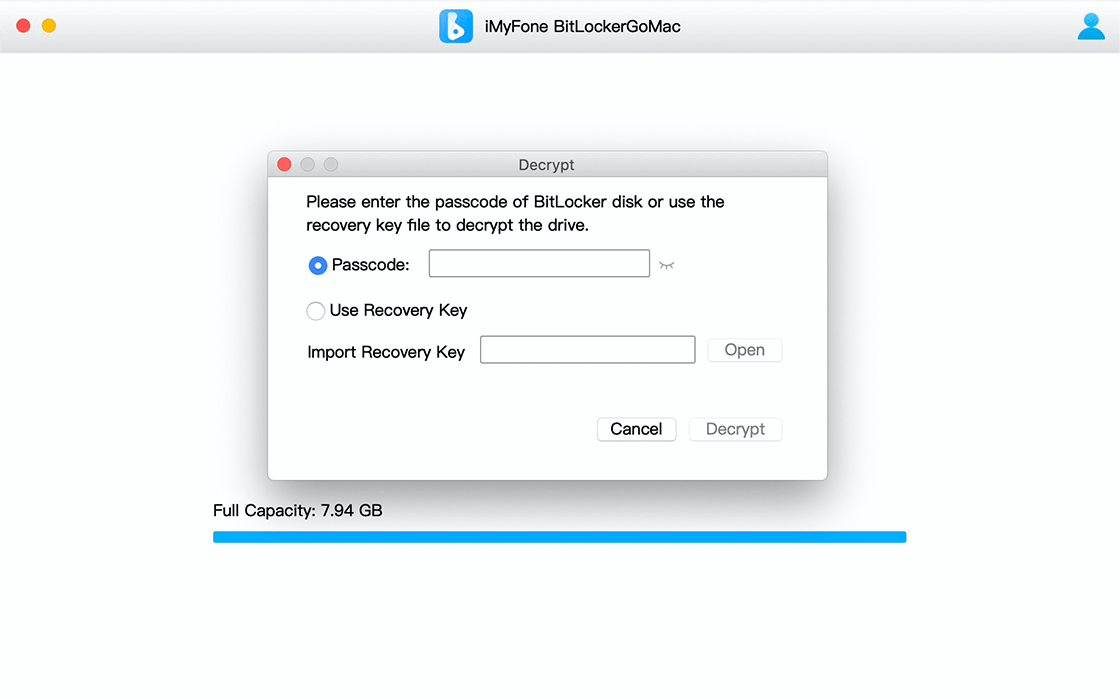
Step 2: Click the Decrypt button and enter the passcode or import the recovery key file to decrypt this drive.

Step 3: After the drive is successfully decrypted, you can access the files stored on it.

FAQ: What You Need to Know About BitLocker Encrypted Drives on Mac
What Do I Need to Open My Encrypted BitLocker Drive on Mac?
You will need a passcode or recovery key file, as well as a BitLocker for Mac program so that you can access it on your Mac.
What Is BitLocker for Mac Software?
BitLocker for Mac software is a tool which helps you access a Windows BitLocker encrypted drive on your Mac. When mounting the drive, this bridges the gap between Windows & Mac, while still keeping your data secure from unauthorized access. This software allows you to open, read, and write to the drive (of all types), and you can share photos, videos, documents, and other file types with friends or family.
How Do I Find a Recovery Key?
This 48-digit is created when you first turn on BitLocker Drive Encryption and should be saved in one of 4 places: your Microsoft account, saved to a USB flash drive, saved to a file (document), or printed out. The easiest way to retrieve it is through OneDrive.
Can You Remove BitLocker encryption from a Mac?
Yes. Open up the drive and back all the files up to another location. Head to your Disk Utility, select the drive that is encrypted, and click erase. This will remove the BitLocker encryption.
Conclusion
When it comes to opening a BitLocker encryption drive, make sure that before you download and install software to help with the process, that the drive itself is healthy and that you have access to the recovery key or password. Other than this, double-check to make sure that the program you are using matches your Mac’s operating system and drive type.
Time Limited Offer
for All Products
Not valid with other discount *

 Hard Drive Recovery
 Deleted Files Recovery
