How to Fix "Secure Boot Can Be Enabled When System is in User Mode"?
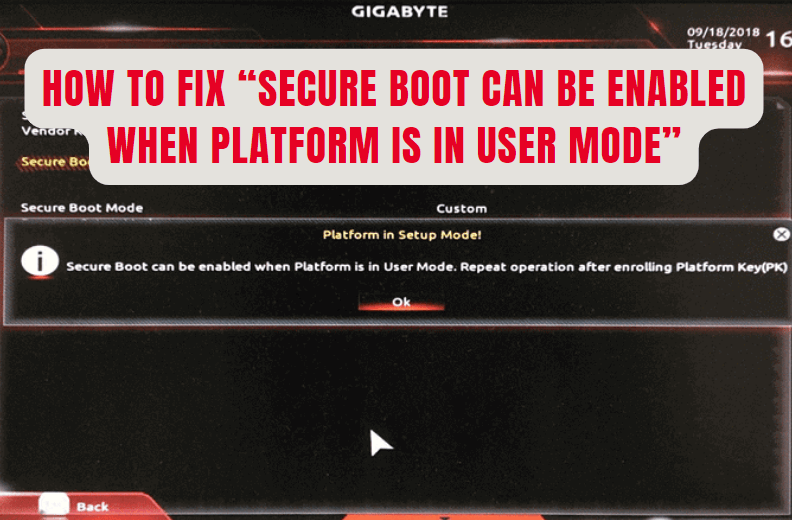
Struggling with the "Secure boot can be enabled when system is in user mode" error?
This error is not only irritating but also very harmful; it can cause permanent damage to the data stored on devices.
In this article, we are going to reveal six step-by-step fixes to get rid of the issue. Moreover, we will also explain how you can recover your lost data without any hassle.
Causes For "Secure Boot Can Be Enabled When System Is In User Mode" Issue
"Secure boot can be enabled when system is in user mode" is a common problem people face when trying to enable Secure Boot on the computer.
It is also caused by various factors and reasons, likewise other computer errors. Knowing these causes will not only fix the issue but also help you to avoid it in the future.
Here is the list of some primary causes:
-
Corrupted File System
-
Disabled User Mode
-
Incompatible Partition Table
-
Outdated System's Firmware
-
Virus & Malware Attack
-
Corrupted BIOS Configuration
-
Hardware Issues
6 Fixes For "Secure Boot Can Be Enabled When System Is In User Mode" Error
| Method | Difficulty | Data Loss | Results |
|---|---|---|---|
| Check Secure Boot | Easy | No | Only checking |
| Enable Secure Boot | Moderate | No | Moderate |
| Enable User Mode | Moderate | No | Moderate |
| MBR to GPT | Easy | Yes | Moderate |
| Run DISM and SFC | Easy | No | Low |
| Deactivate CSM & Windows Reinstallation | Difficult | Yes | Excellent |
1. Check Secure Boot State
You check the Secure Boot state in the first place. It should be turned on to work properly. Before you try any other method, make sure the state is on.
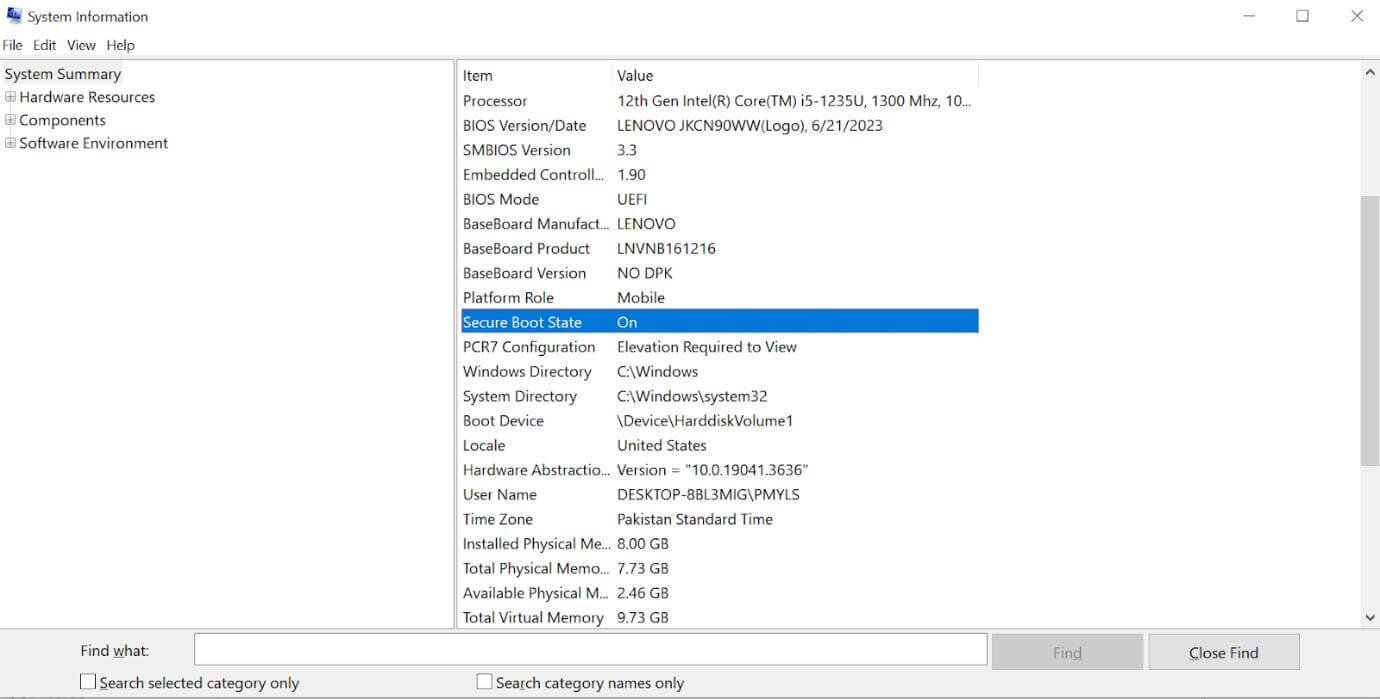
Step 1 Press Windows + R. A small Run pop-up will appear on the screen with a search bar. Type msinfo32 and press the Enter key.

Step 2 It will open the System Information window on the screen. Now, scroll down until you get the System Boot State option.
Step 3 If you find On in front of the System Boot State, it will indicate that everything is fine. If it is Off / Unsupported, you must turn it on by following method 2.
2. Enable Secure Boot
Follow these steps to enable Secure Boot on your computer.
Step 1 Open Settings on Windows. Go to the System > Recovery Options > Advanced Startup> Restart Now. The window will ask you to choose an option from the next screen.
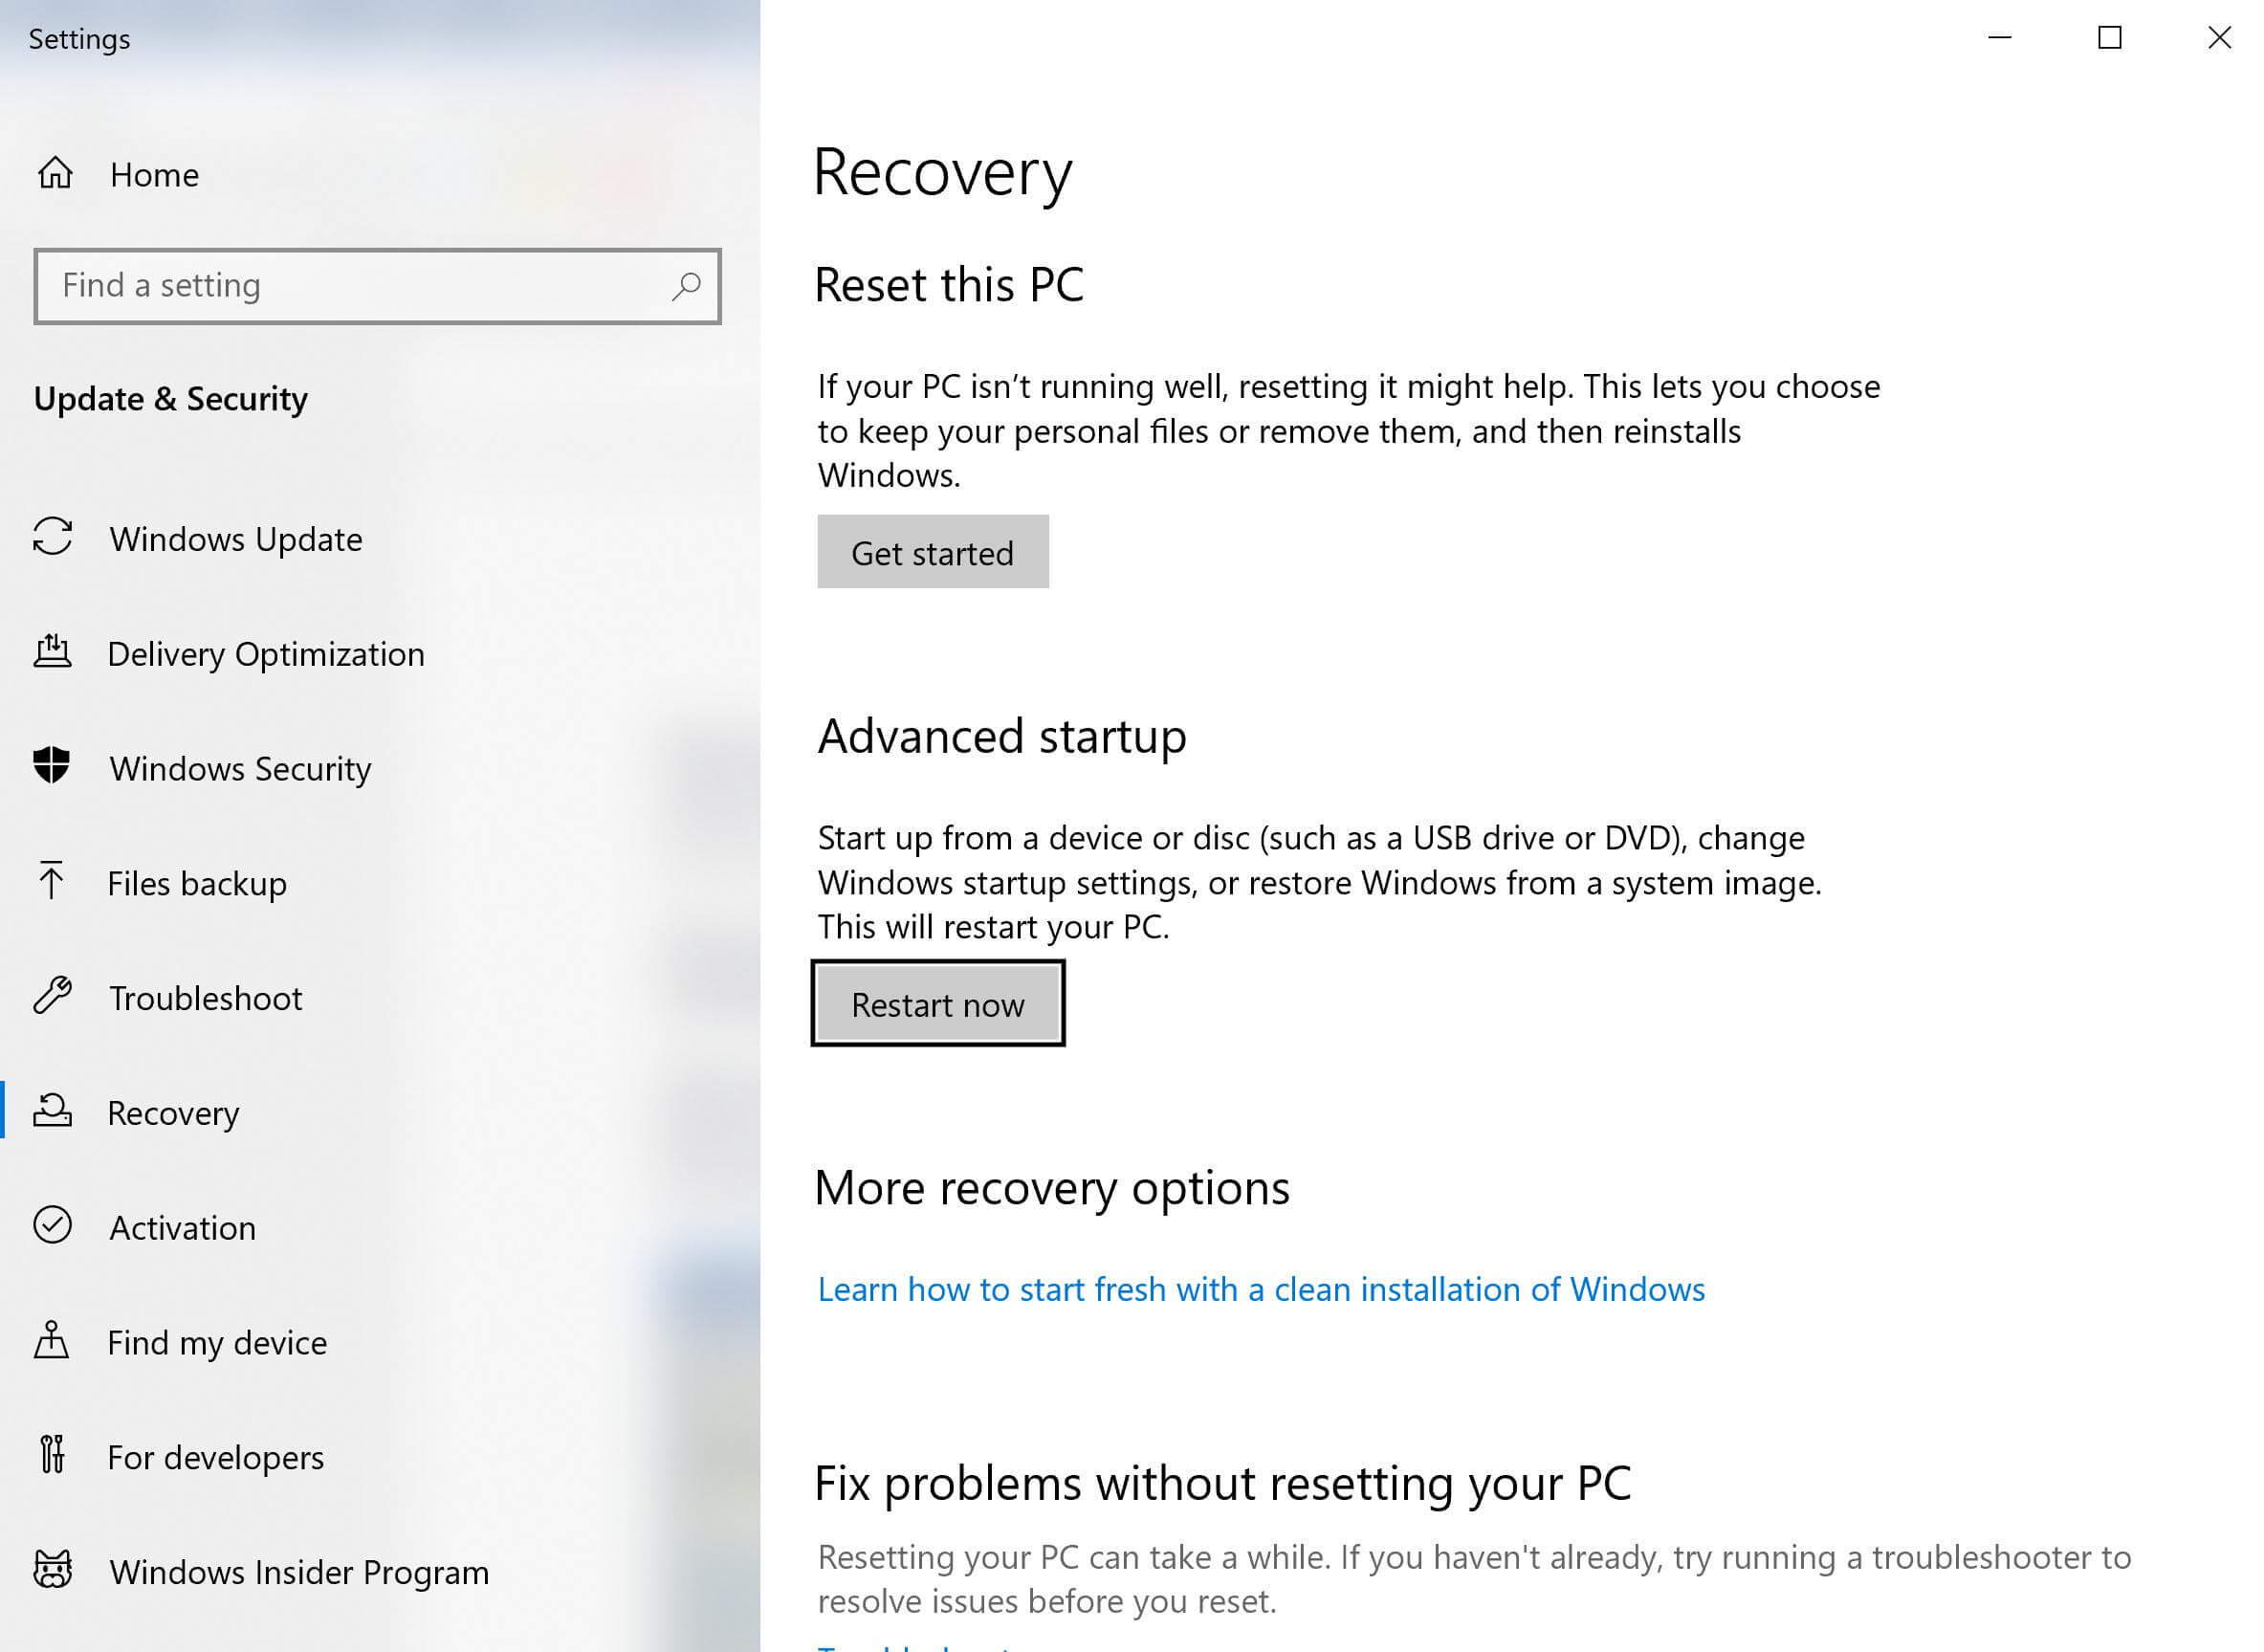
Step 2 Click the Troubleshoot> Advanced Settings > UEFI Firmware Settings.
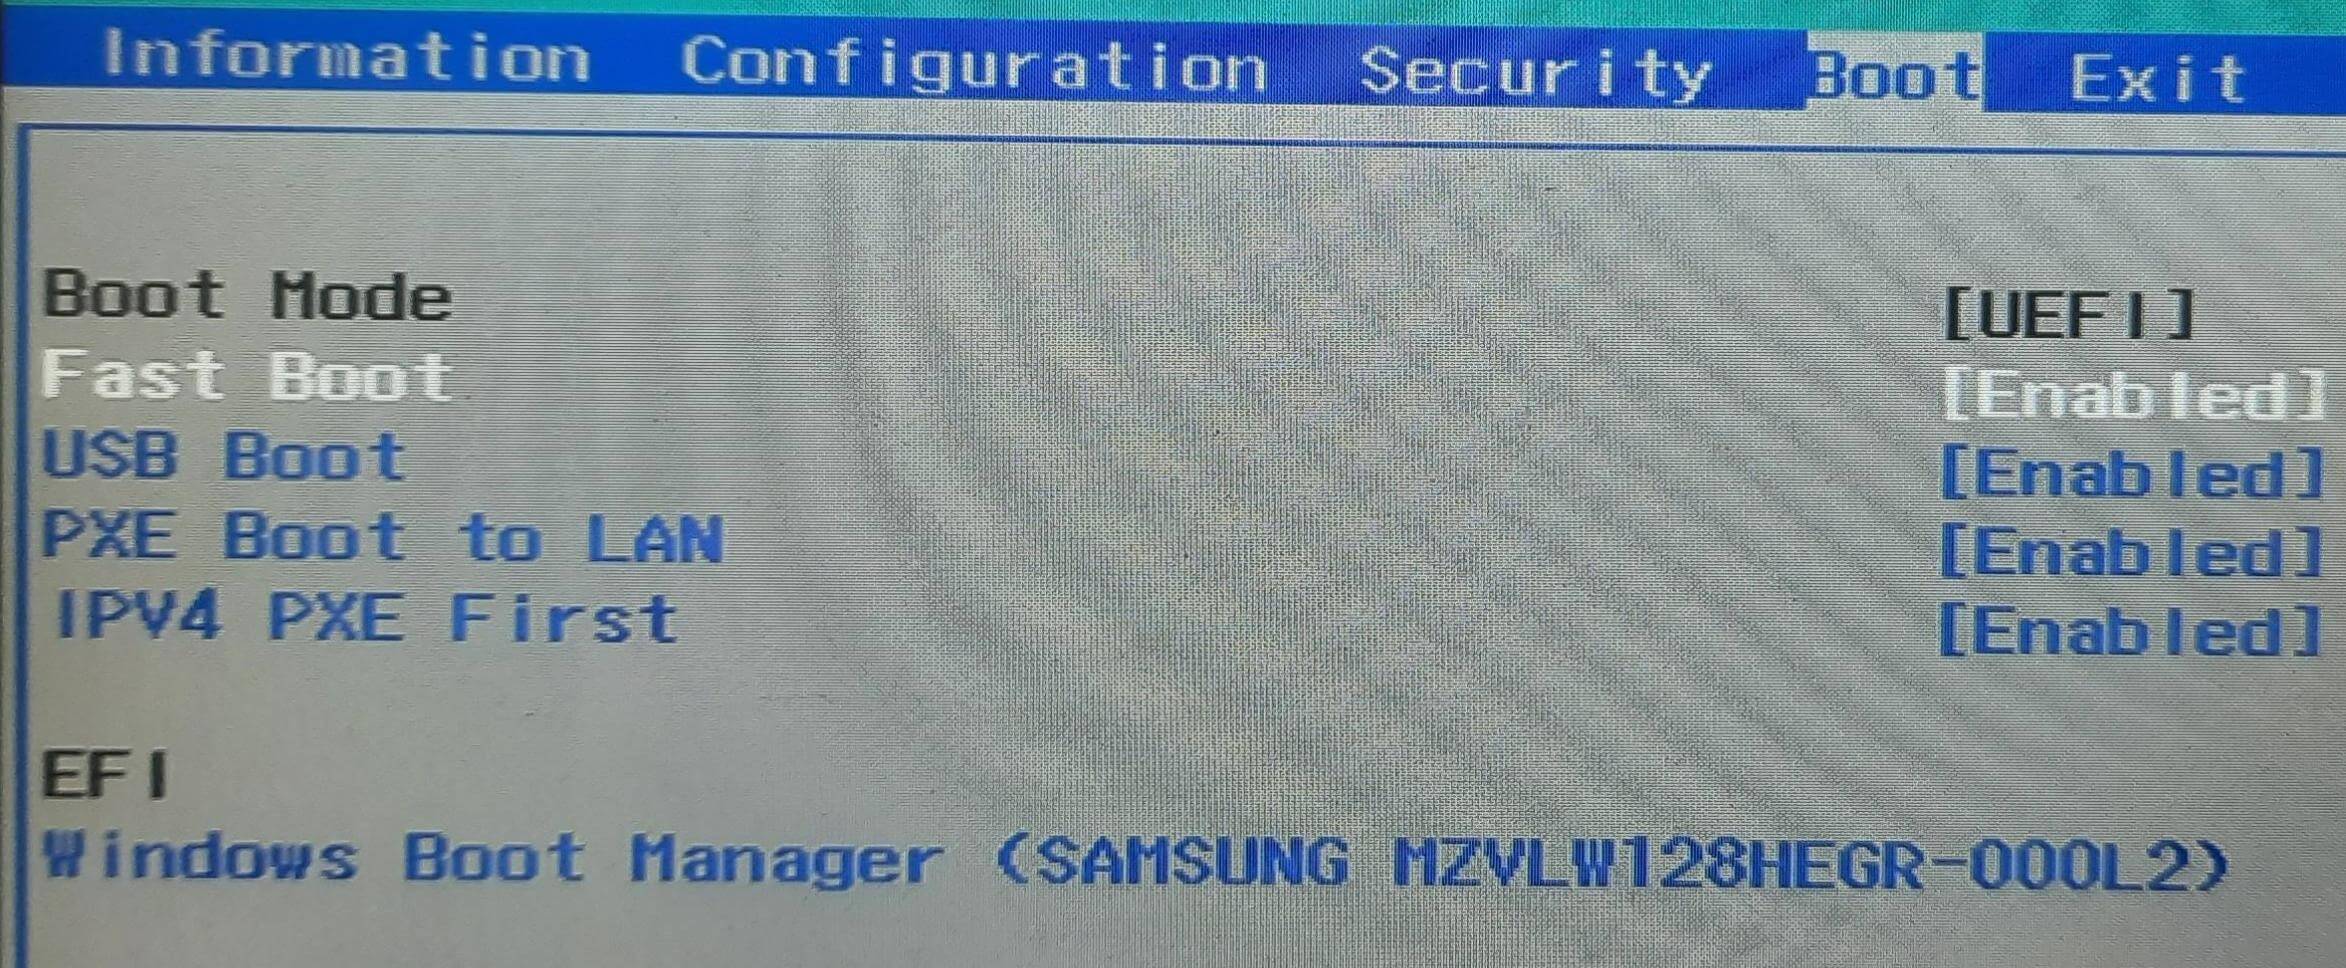
Step 3 Go to the Security tab or Boot Options to check whether the Secure Boot is enabled. If it is disabled, click on it to enable it and hit the Save Changes & Exit buttons at the end.
3. Enable User Mode
If the User Mode is disabled on your computer, you will encounter the "secure boot can be enabled when system in user mode" issue. Follow the steps below to enable user mode.
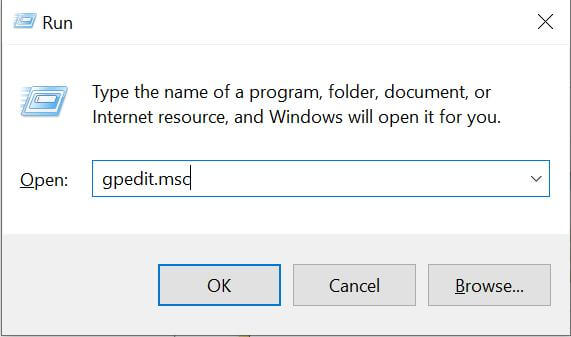
Step 1 Press the Window+R key to open the Run dialog box. Type "gpedit.msc" in its search bar and click OK.
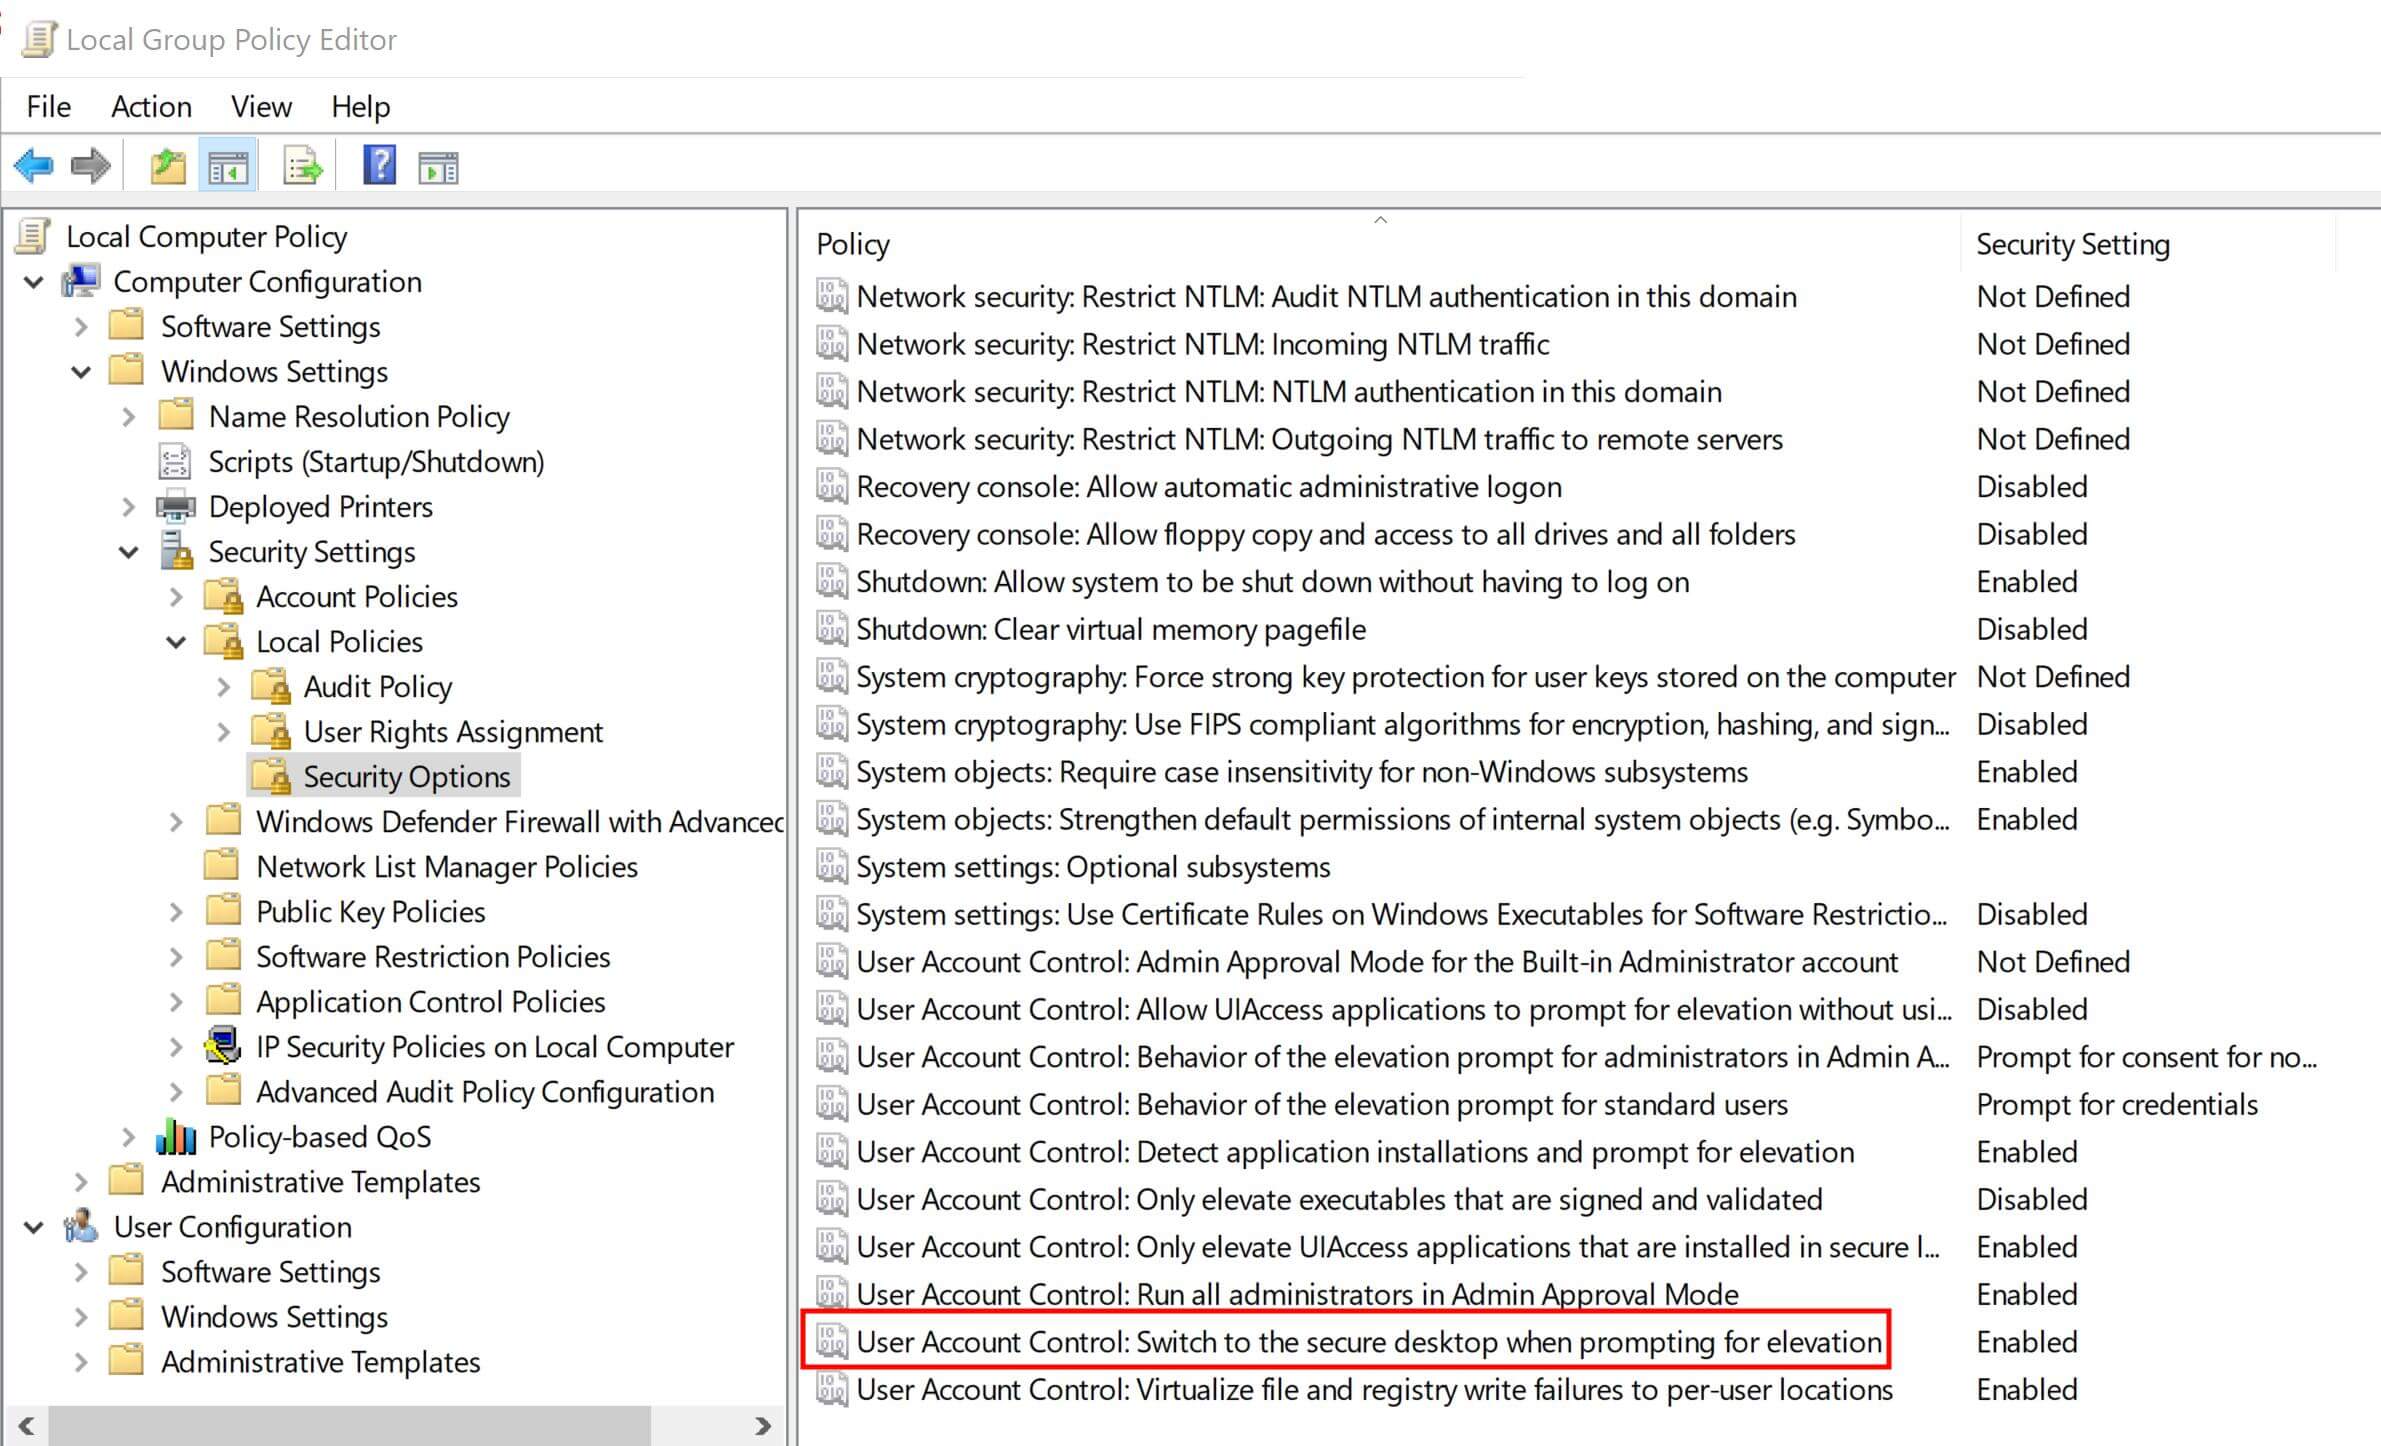
Step 2 This will open a Local Group Policy Editor window on the screen. Go to Computer Configuration > Windows Settings > Security Settings > Local Policies. Click Security Options.
Step 3 Click on Administrative Templates, and further options will slide down. Select System and numerous options will appear on the screen's right panel. Now, scroll down the screen and double-click "User Account Control: Switch to the secure desktop when prompting for elevation."
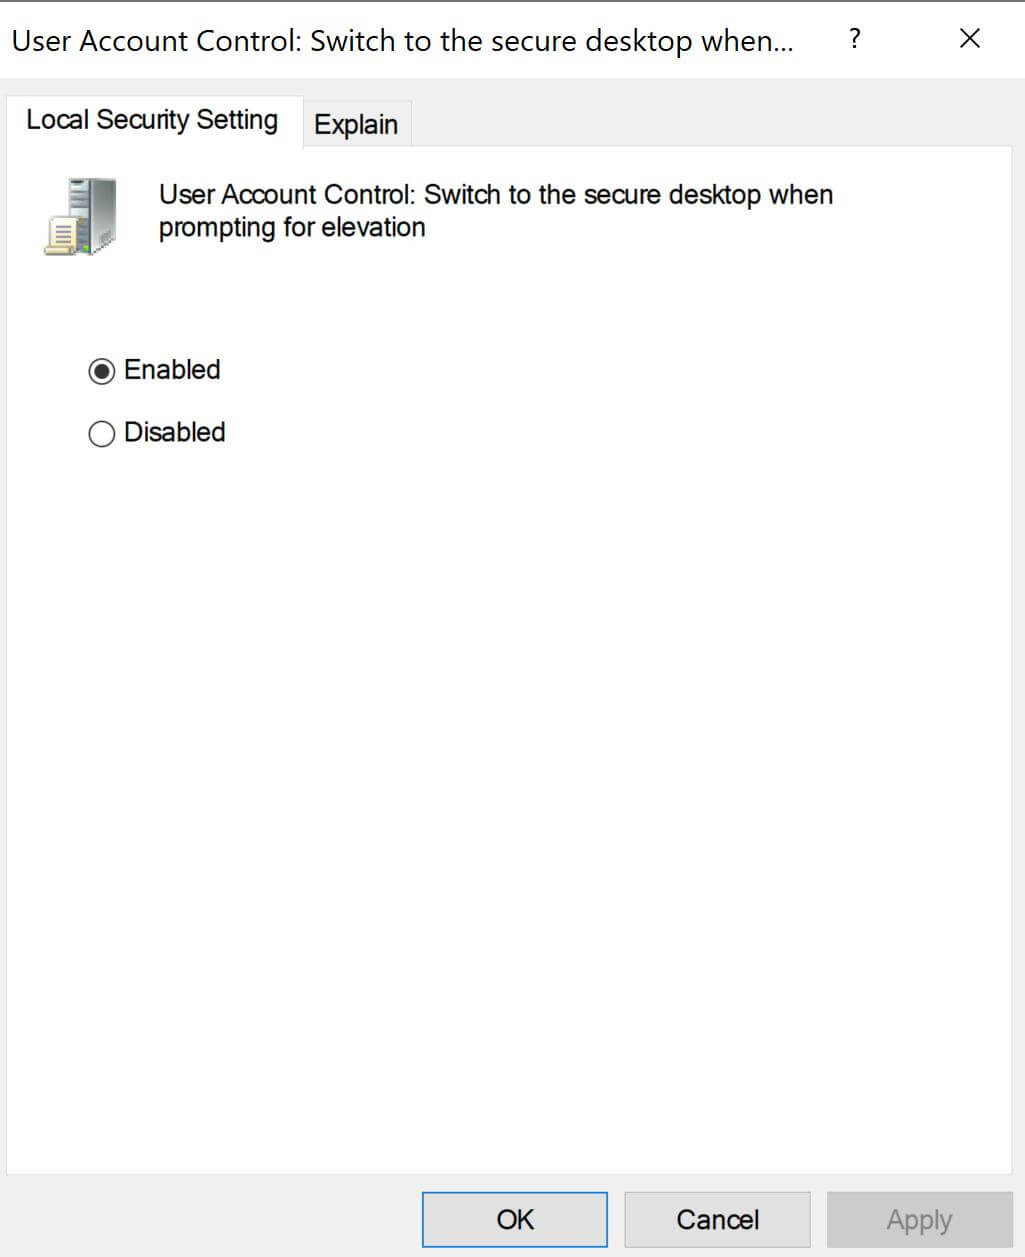
Step 4 Finally, click Enable > Apply >OK.
4. Convert PC Partition From MBR to GPT
It is a must to have a GPT disk for Secure Boot. If the disk format is MBR, you have to convert it first. Follow these steps to convert the partition.
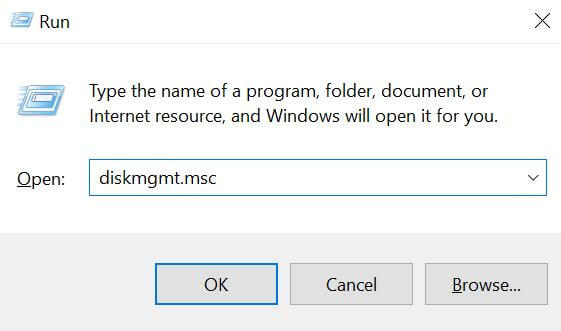
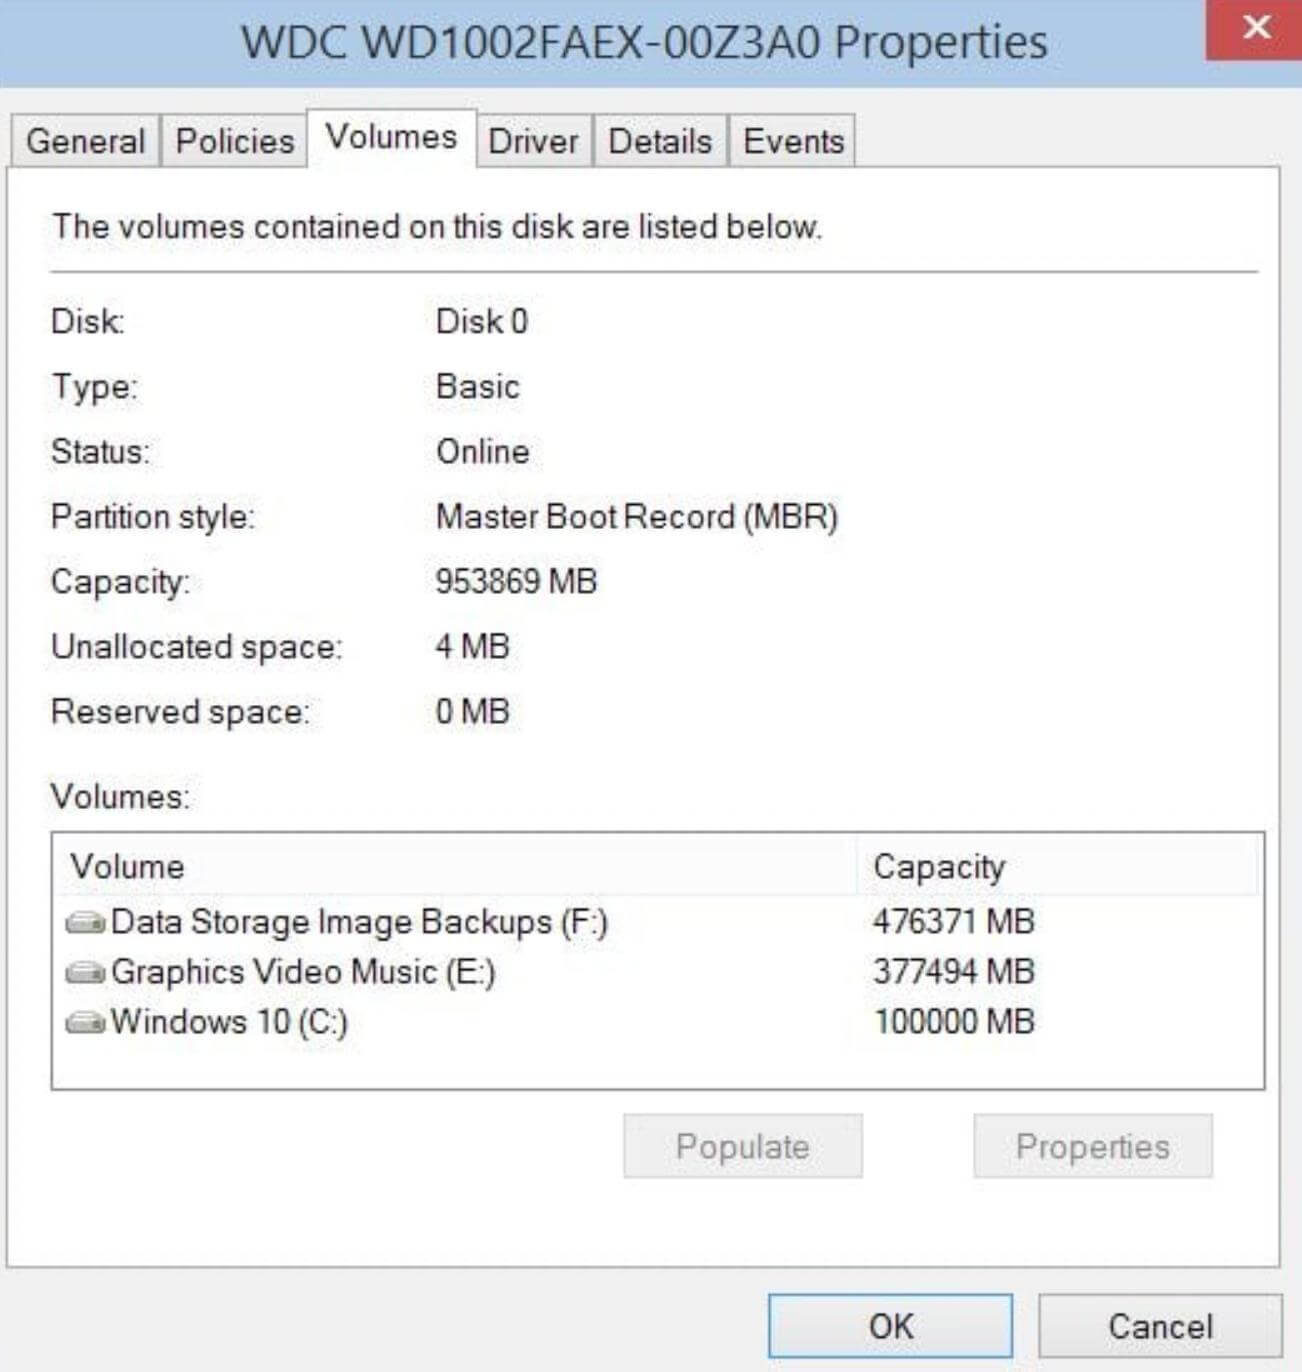
Step 1 Open the Run window by pressing the Windows + R keys. Type diskmgmt.msc and hit the OK button to open the Disk Management window.
Step 2 Go to the Property tab from the Disk Management window and hit Volume. Here, you will find the Partition Style along with the format. If the partition style is MBR (Master Boot Record), convert it to GPT.
Step 3 To convert MBR to GPT, open the Command Prompt by selecting the option of Run as administrator > type "mbr2gpt.exe /convert /allowfullos" and hit the Enter key.
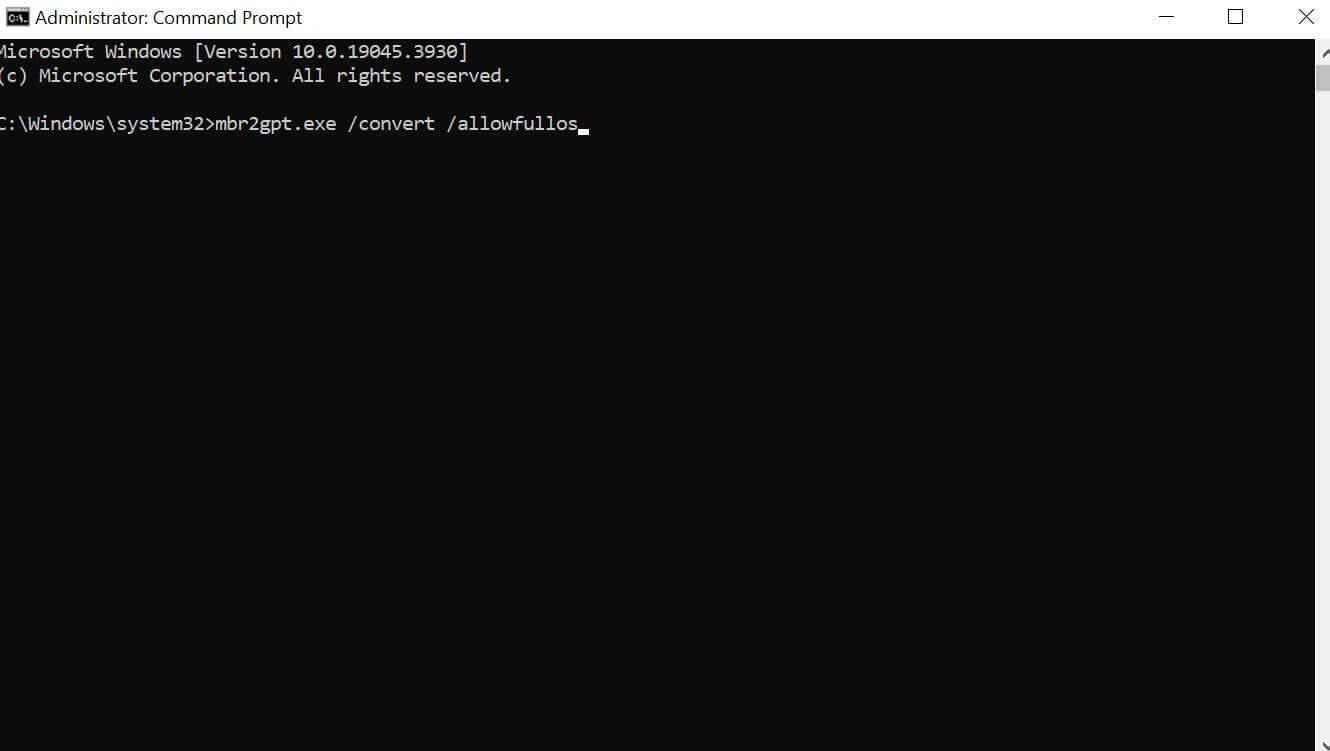
Step 4 Command will run and convert the partition style from MBR to GPT. Now, wait for the process to be completed and check the partition style by following the same steps as earlier.
5. Run DISM & SFC
DISM and SFC commands can resolve bad sectors and repair file systems. These are helpful in various Windows errors.
Step 1 Go to the Windows search bar and type Command Prompt. The Command Prompt option will appear. Click Run as administrator.
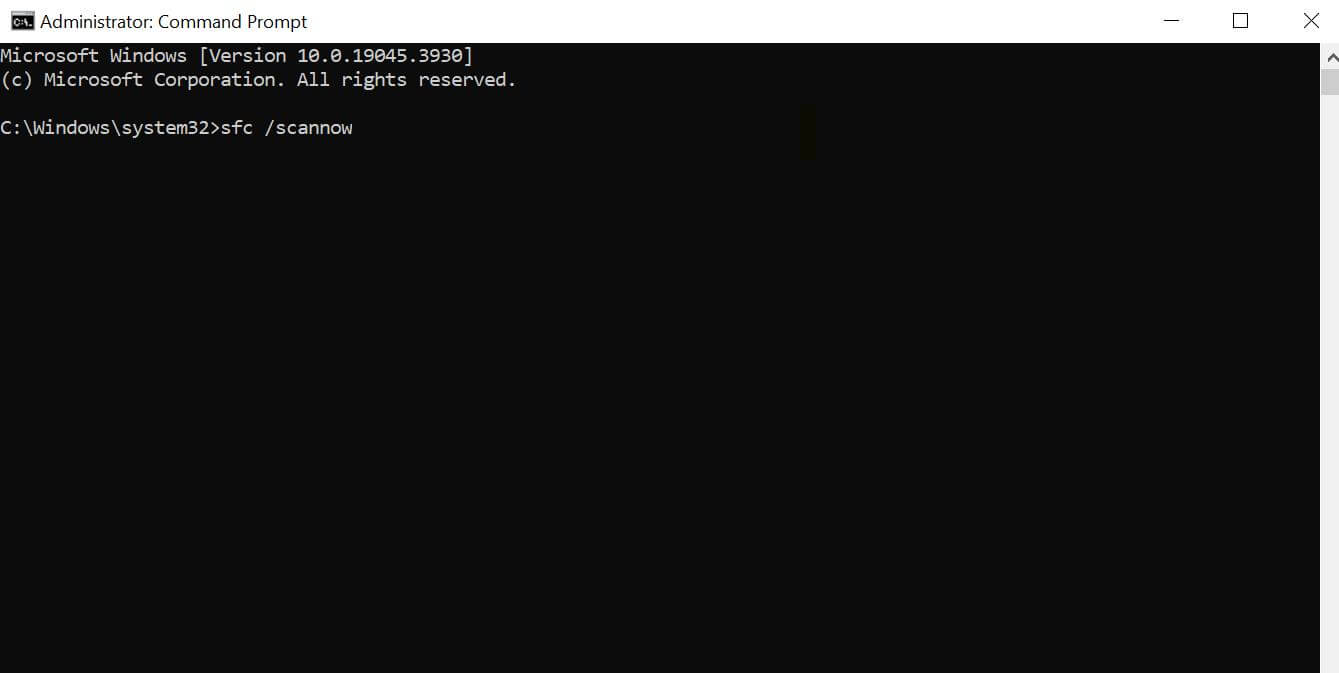
Step 2 To run the SFC command, type "sfc/scannow" in the command prompt and hit Enter. The SFC command will run, and the system will automatically be analyzed to fix the error. Once done, restart your PC to check whether the error is fixed.
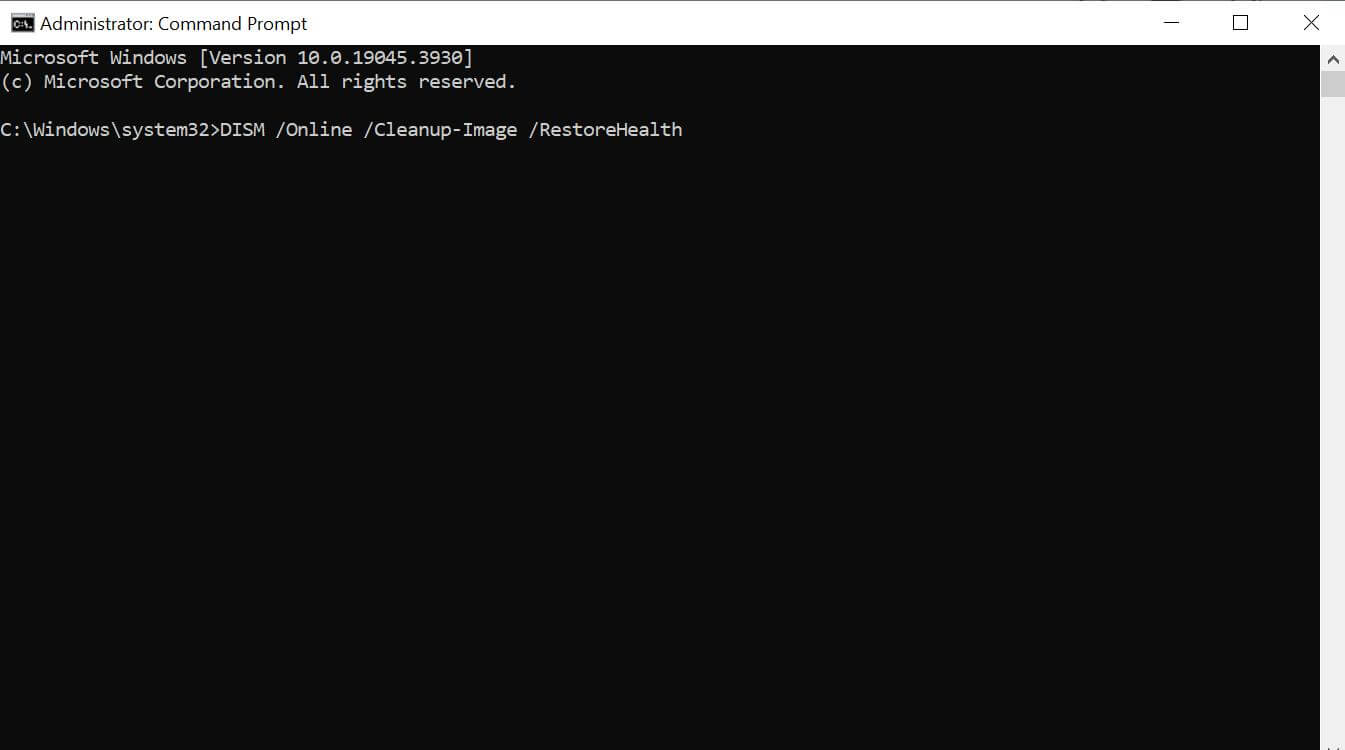
Step 3 To run the DISM command, open the command prompt as described above and type "DISM /Online /Cleanup-Image /RestoreHealth". Hit the Enter key and wait for the process to be finished. Once done, restart your PC to check the performance.
6. Deactivate CSM & Windows Reinstallation
If nothing works, you can try to deactivate CSM and then install Windows again. It also solves the secure boot issues. However, you will lose the data stored on the Windows partition.
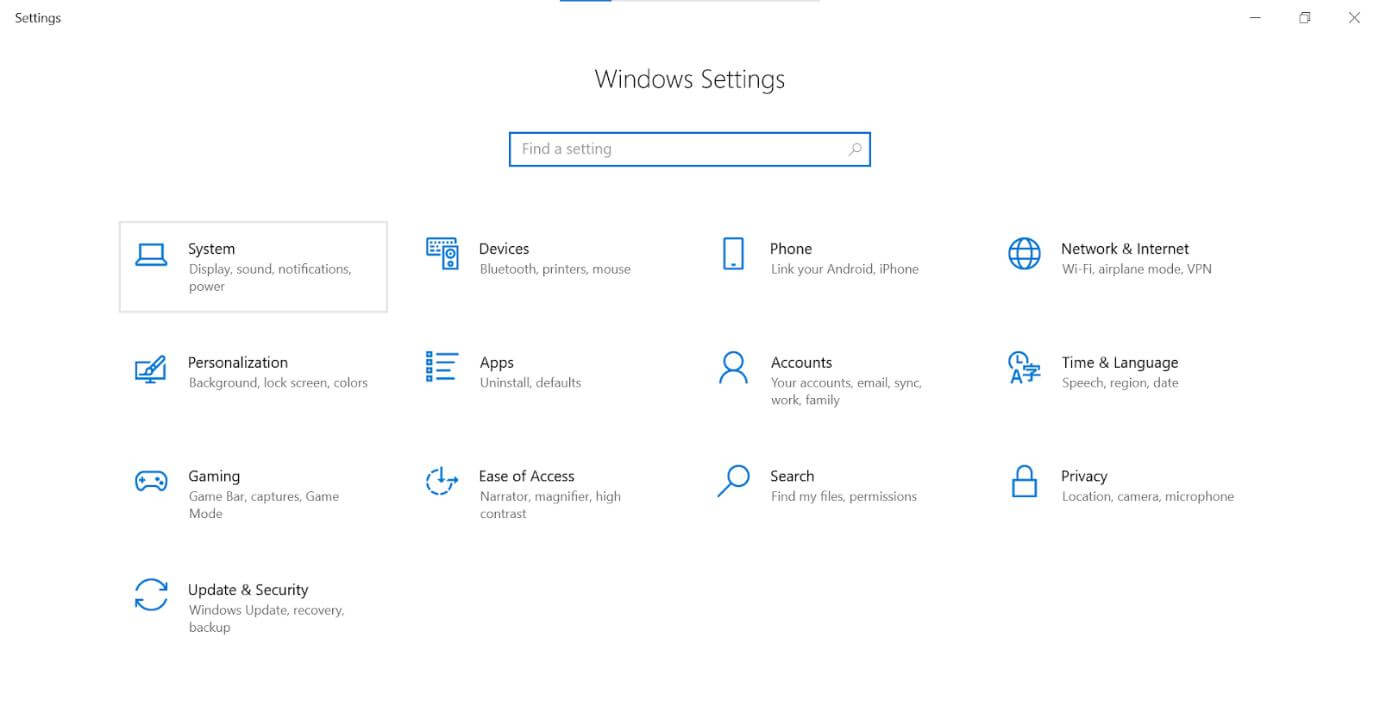
Step 1 Open Settings on your Windows and click on the System option.
This will open new windows with a search bar. Type Recovery Options and click on it.
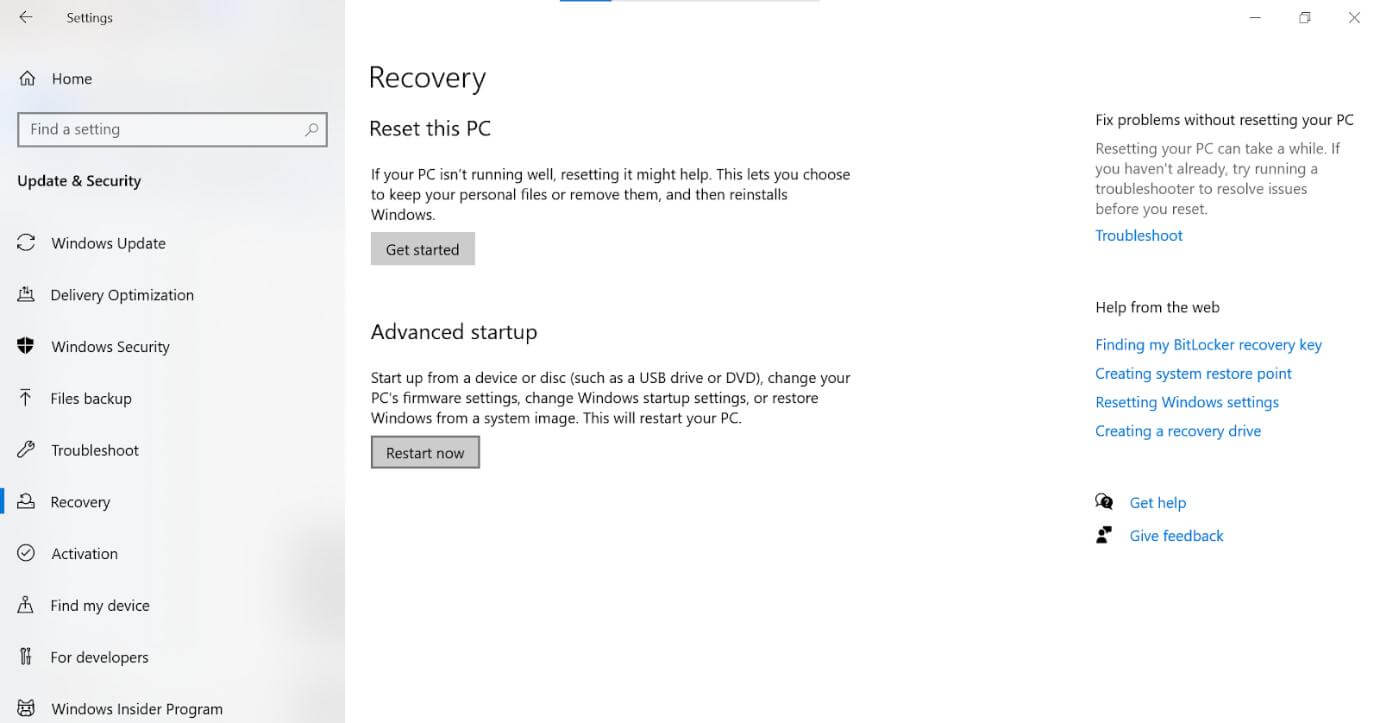
Step 2 The Recovery Option will show you two new options on the right side of the screen. Click on the Restart Now button under the Advanced Startup section.
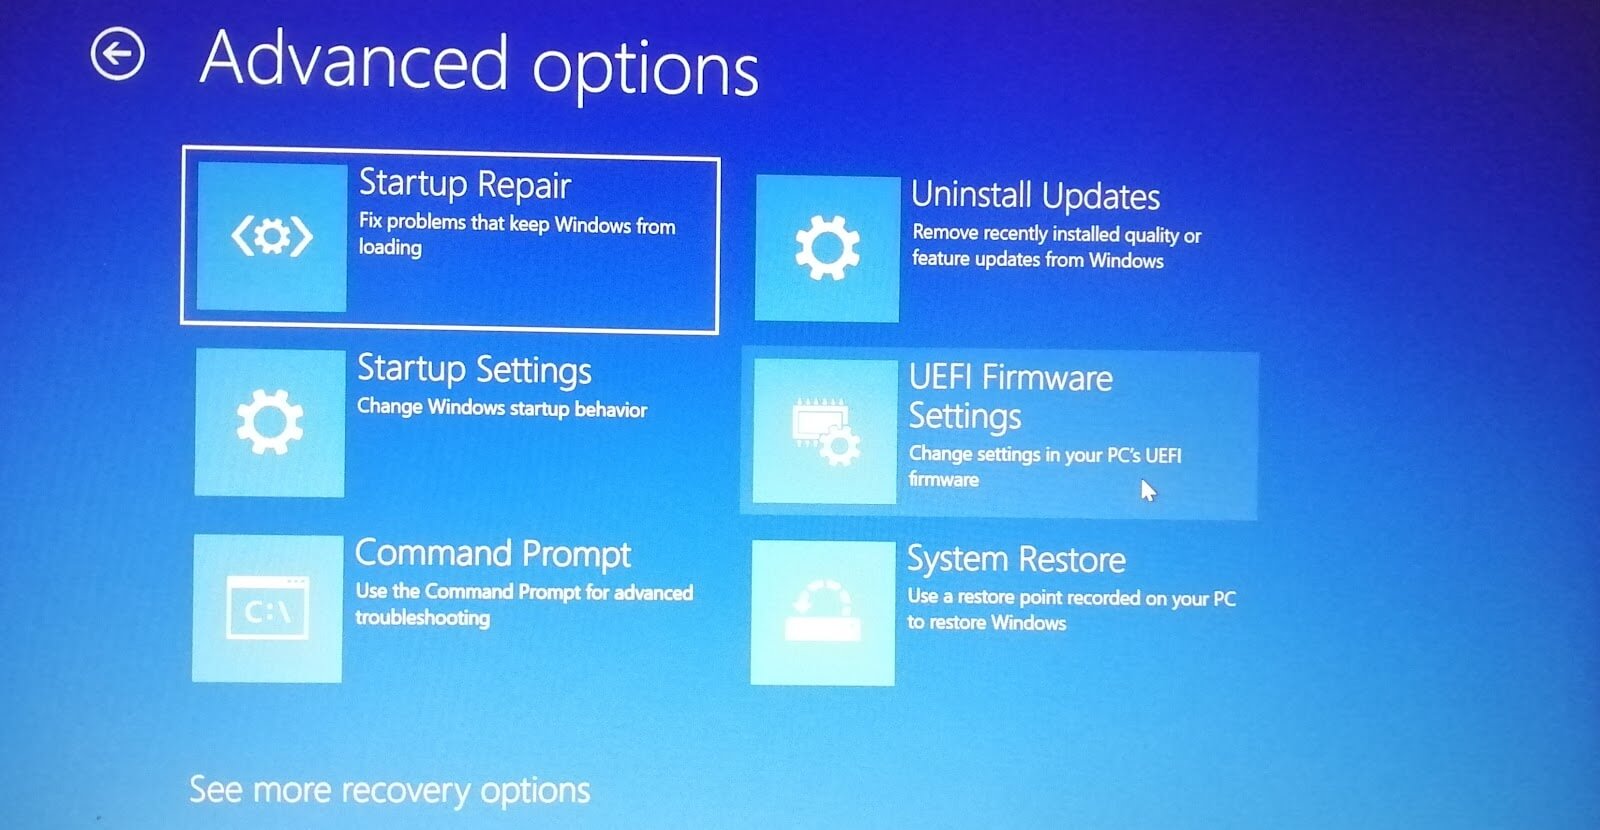
Step 3 It will ask you to choose an option that suits your situation before restarting the device. Click on the Troubleshoot option and select Advanced Options from the next window.
Step 4 Click on UEFI Firmware Settings and go to Boot in BIOS. Open CSM settings > choose Disable > click on Save Changes & Reset. Now, reinstall Windows and start the PC. Check whether the issue is resolved or not.
One-Click Recover Data Accidentally Lost During Problem Fixing [100% Safe]
You may lose your data due to the "secure boot can be enabled when system in user mode" issue or while fixing it. However, you can recover everything by using a professional data recovery tool, AnyRecover Data Recovery.
AnyRecover Data Recovery is a powerful software that scans and recovers lost data types from different devices. It can recover your videos, images, documents, and almost everything. Moreover, it is very simple and user-friendly, so anyone can use it without any experience.
Key features of AnyRecover
- Available for Mac, Windows, iPhone, and Android
- Recovers 1,000+ file formats and works in 500+ scenarios
- Repairs corrupted files with the help of AI
- Offers excellent data recovery success rate and recovers lost and deleted files
Recover Permanently Lost Data with AnyRecover
Step 1. Download and install the software on your device. Open the software and click on the PC & Hard Drive Recovery option.
Step 2. All the drives from your PC will appear on the screen. Select the drive from where your data was located before being lost.
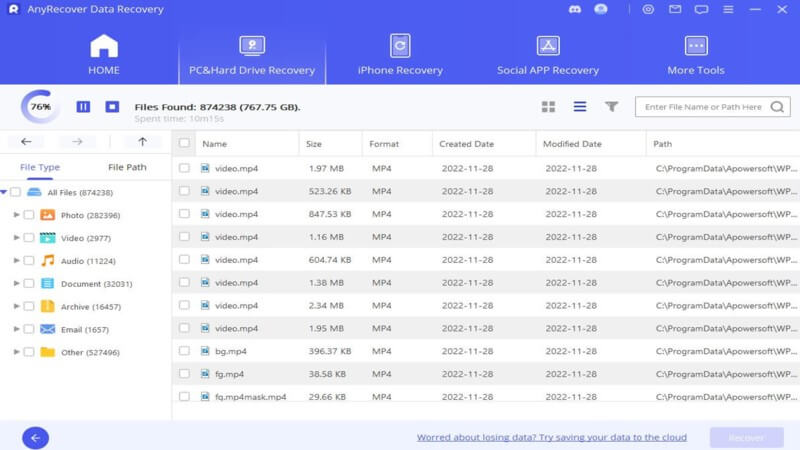
Step 3. An automatic scanning process will start, and the selected drive will be scanned. After scanning, recoverable lost data from the selected drive will appear on the screen.

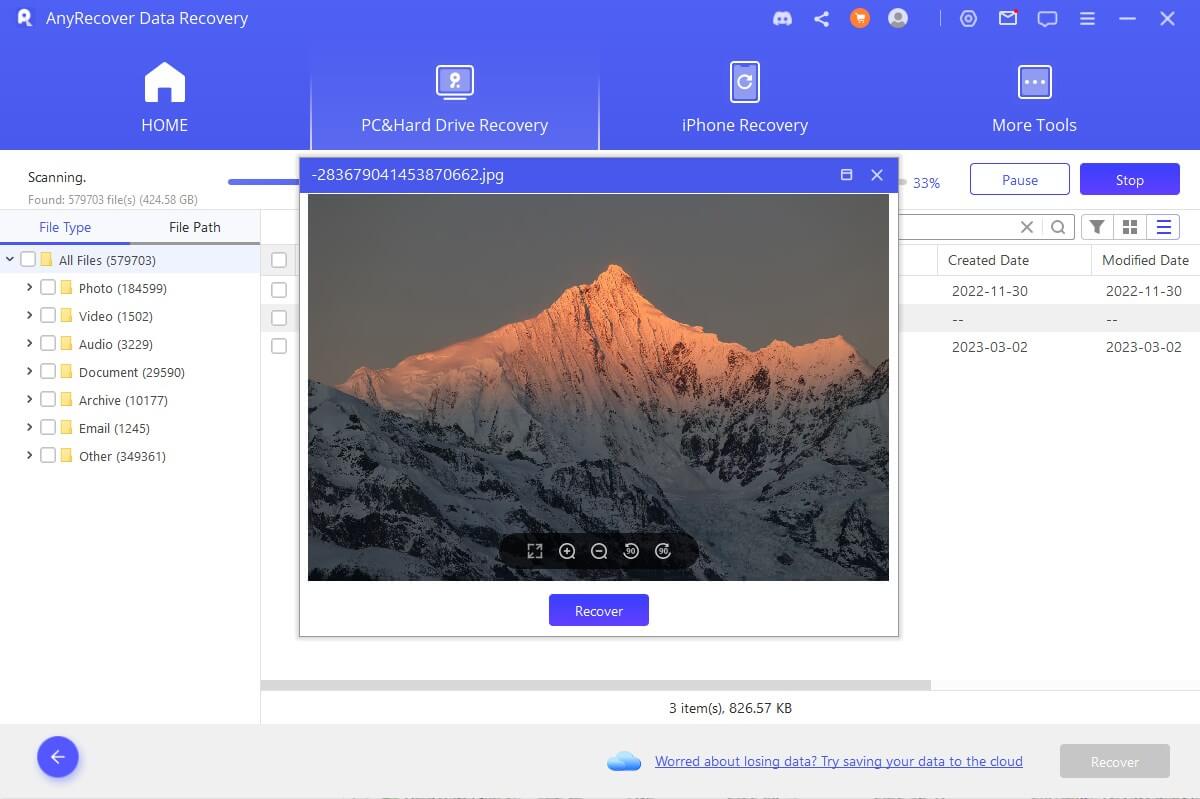
Step 4. Manually select the data that you want to recover > preview it > click on Recover. The data will be restored at the selected location on the PC.
Final Words
Secure Boot option provides high-end security and safety against threat-causing and damaging issues in the digital landscape. Yes, it is an amazing security feature, but users often experience the "secure boot can be enabled when system is in user mode" error. We have shared the solutions you can try to fix the issue.
And if you have lost your data during the process, AnyRecover can help you recover that. Download its free version and follow a few simple steps to get all your data back.
AnyRecover
10% OFF coupon code: RECOVER9
Time Limited Offer
for All Products
Not valid with other discount *

 Hard Drive Recovery
 Deleted Files Recovery
