[2024 Solved] How to Boot Mac in Recovery Mode
Most Mac users will experience years of using a Mac without problems. But like any other computer, Macs are prone to problems that could significantly impact performance. Fortunately, your Mac is equipped with Mac Recovery mode which is very useful to fix some issues. You can also reset Mac password using recovery mode if needed. There are several ways about how to boot Mac into recovery mode. Here, we'll discuss different ways on how to boot Mac in recovery mode so that they will become effective when users are in any emergency.
Important: If you're still covered by Apple's warranty or AppleCare, you should contact Apple support.
What Is Mac Recovery Mode and When to Use It?
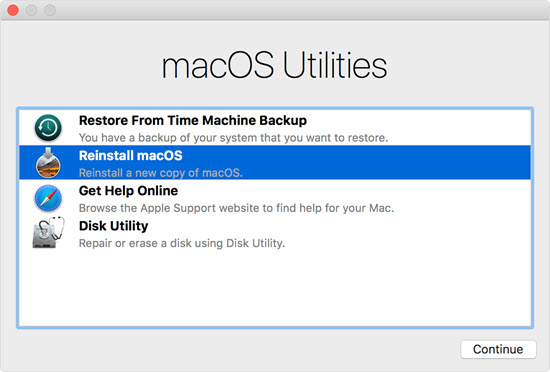
macOS Recovery mode, also known as Recovery Partition, is part of the built-in recovery system of your Mac. You can start up from macOS Recovery and use its utilities to diagnose disk problems, recover and restore data from Time Machine, re-install macOS, get help online, fix and wipe the data on the hard disk, and more.

Here's when you might need to use different Recovery mode utilities:
-
Reinstall macOS, to restore macOS to its original factory state.
-
Restore from a Time Machine backup.
-
Set a firmware password on your Mac, for additional security.
-
Access Disk Utility, to repair or erase your start up disk.
-
Wipe all your personal data when you're selling or giving away your Mac.
How to Boot Mac in Recovery Mode?
There are 3 key combinations to start your Mac in Recovery Mode. The Reinstall macOS utility installs different versions of macOS depending on which one you use.
1Boot Mac in Recovery Mode (Standard Mode)
This is the recommended option. This ensures that the installation isn't associated with your Apple ID, which is important if you're selling or giving away your Mac.
-
1. Shutdown your Mac.
-
2. Turn on your Mac and immediately press and hold: Command - R, holding until you see the Apple logo or a spinning globe.

To quit Recovery, click on Restart or Shut Down in the menu. In the case where you need to start with a different startup disk, pick the option Startup Disk from the Apple menu.
2Boot into Recovery Mode on Mac over the Internet
To launch Internet Recovery, you'll need an Internet connection. Please make sure your Mac is connected to Wi-Fi before booting your Mac into Internet Recovery mode. Here you have two options:
A - Upgrade or Install the Latest macOS
-
1. Reboot your Mac first.
-
2. Then turn on your Mac and immediately press and hold: Option - Command - R, holding until you see a spinning globe. At this point, your mac is successfully booting in recovery mode.

B - Downgrade or Install the macOS that Came with Your Mac
This option is nearly the same as the above one. What is different is the key pressed and held should be Shift - Option - Command - R.
To quit Recovery, choose Restart or Shut Down from the Apple menu.
The Difference between Standard and Internet Recovery Mode
The Recovery utility enables you to reinstall the Mac operating system. So why would you choose one option over another? It really depends on your issue, and what version of macOS you need:
-
The Standard Recovery mode reinstalls the version of macOS that was last installed on your Mac, taking the Installer image file from your Mac's local recovery partition.
-
The Internet Recovery mode connects to Apple servers, checks for any hardware issues, and downloads either the version that came with your computer at the time of purchase, or the latest compatible one (depending on which key combination you choose).
Note that if your local partition is somehow damaged, your Mac will automatically revert to Internet Recovery mode.
Bonus: How to Recover Lost Data After Booting Mac
Lost or accidentally deleted your family pictures, or other important data? If you are looking to recover lost data, but you don’t have a backup and you lost them because of the recovery mode. Then you will need the help of AnyRecover for Mac. Whether the system crashed, or you emptied your Trash, unintentionally deleted a partition, or fell victim to a virus attack - there are ways to recover all those important files.
AnyRecover Key features include:
- AnyRecover is utterly developed to recover over 1000 different file formats of photos, videos, documents and emails, etc.
- This software is developed to recover all the data in its original form without overwriting it.
- AnyRecover offers a free trial that enables user to perform a deep scan, preview and recover.
- Fully compatible with all Mac operating systems, and most file systems, such as APFS, HFS+, HFS X, exFAT, etc.
- Supports MacOS and Windows 11/10/8/7/XP.
Steps about recovering lost files after booting Mac into recovery mode:
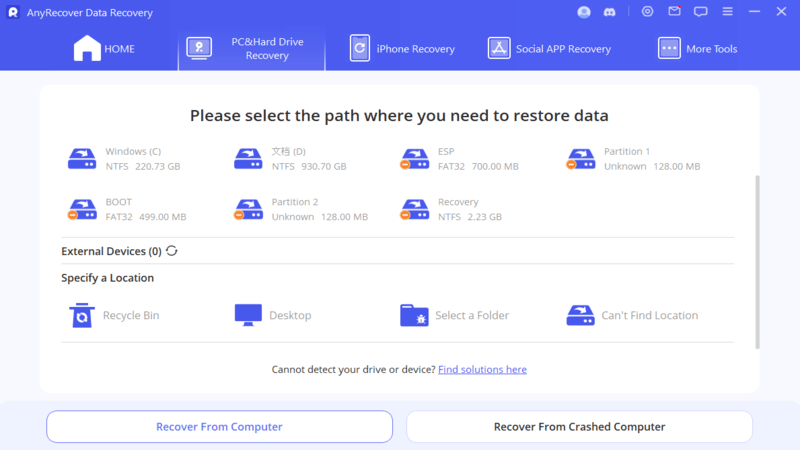
Step 1: First, Launch the software. Select the drive from where the data files are lost, then start scanning by clicking "Start" button.

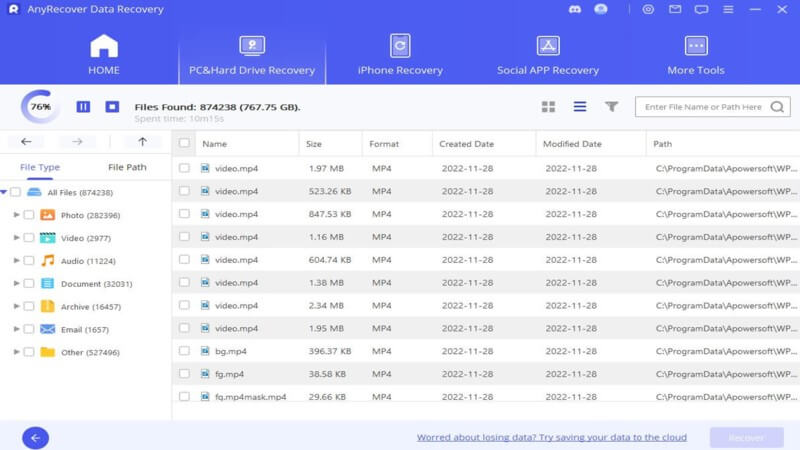
Step 2: The software will will run an all-around scan on your drive to identify the deleted, hidden or lost files

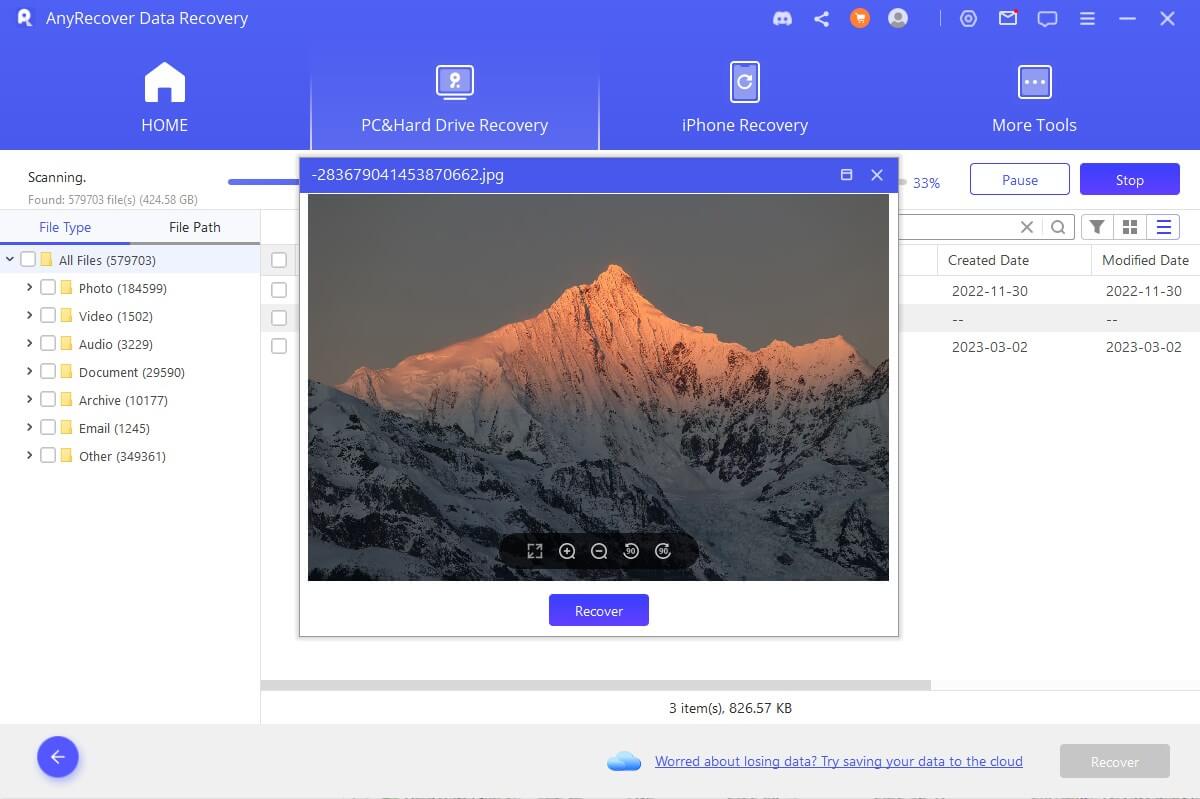
Step 3: When the scan completes, the files will be listed on the screen. Finally, tap on Recover option and the files will be restored on your drive.

As you can see, it's quite simple and also completely safe: your data stays on your drive, doesn't get uploaded anywhere, and you recover it yourself without anyone else viewing your data.
Conclusion
This article has given you a detailed while clear guide on how to boot Mac into recovery mode. You can try those methods above one by one to see if they work for you and which one you like the best.
A high-quality tool is capable of yielding twice the result with half the effort. AnyRecover for Mac provides the most convenient and effective fix to problems concerning lost data after booting Mac. For any other data loss issues, this tool will also help.
Just download it and have a try!
Time Limited Offer
for All Products
Not valid with other discount *

 Hard Drive Recovery
 Deleted Files Recovery
