How to Remove Background in Affinity Photo: Step-by-Step Guide
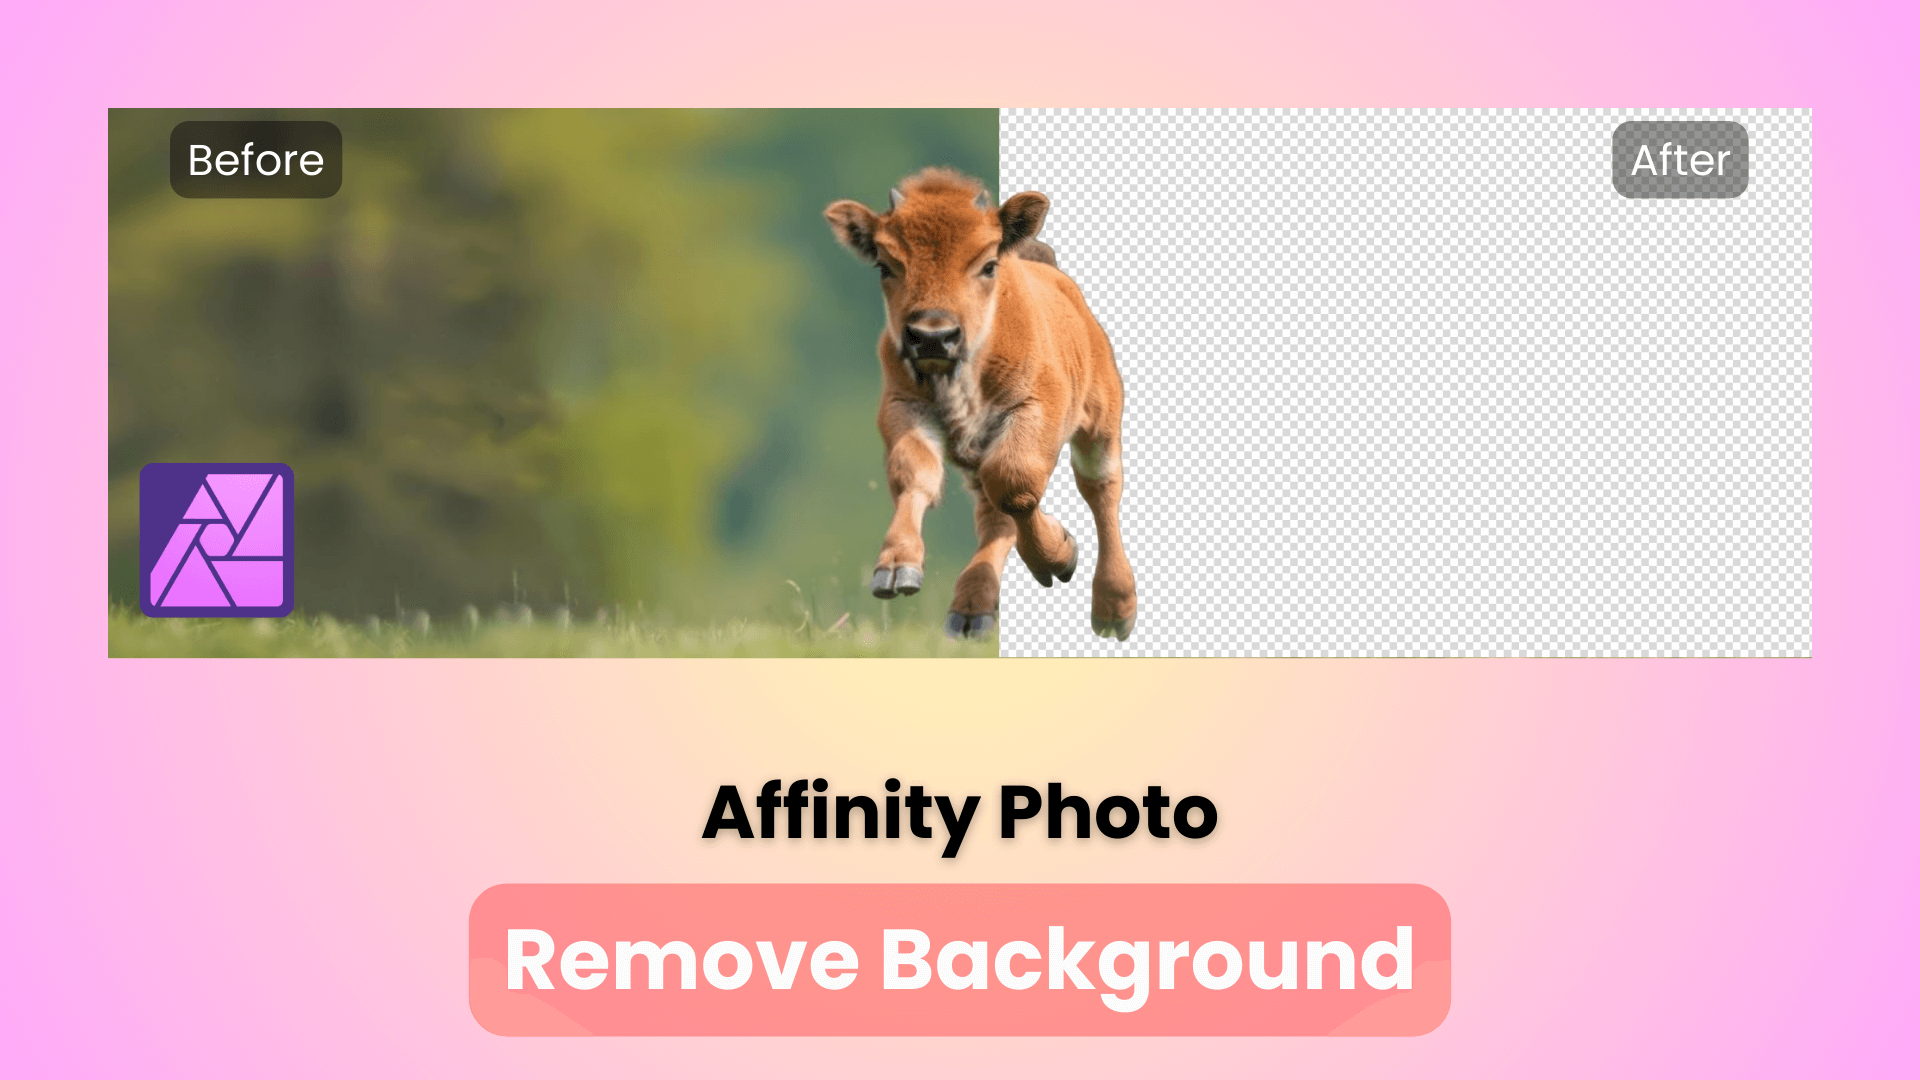
In the world of photo editing, removing backgrounds from images can be essential for creative projects, marketing, or enhancing personal photos. With Affinity Photo, a powerful and affordable editing software, you can easily achieve professional-level results with background removal. This article will walk you through the steps of how Affinity Photo remove backgrounds and introduce you to some of its top features. Plus, we'll share an effortless alternative if you're looking for a faster online solution to make background removal a breeze.
Part 1: How to Remove Background in Affinity Photo?
If you're wondering how to remove background in Affinity Photo, the process is surprisingly straightforward once you get familiar with a few essential tools. Here's a step-by-step guide to help you get started with Affinity Photo background removal:

Step 1: Open Your Image
1. Open Affinity Photo and load the image you'd like to edit. To do this, go to File > Open, select your image, and click Open again.
2. Once the image is open, make sure it's the only layer visible to ensure a clean background removal process.
Step 2: Select the Background Using Selection Brush Tool
1. Click on the Selection Brush Tool located in the toolbar. This tool allows you to select areas based on color and texture similarities.
2. Adjust the brush size by using the Brush Width slider in the toolbar. A larger brush size works well for larger areas, while a smaller brush size is ideal for detailed areas.
3. Start brushing over the background you want to remove. Affinity Photo's selection brush automatically detects edges, helping you achieve a clean selection. If you need to deselect any part, hold down Alt on Windows or Option on Mac while brushing over the area.
Step 3: Refine the Edges
1. Once you've selected the background, click on Refine at the top of the screen. This will bring up a refinement panel where you can fine-tune the edges of your selection.
2. Use the Feather slider to smooth out the edges for a more natural transition. Adjust the Border Width if necessary to include or exclude small portions of the background.
3. For hair and fur, use the Foreground and Background brushes within the refinement panel to achieve a realistic look, which can be essential for portraits or images with intricate edges.
Step 4: Delete or Mask the Background
1. After refining the edges, click Apply to finalize the selection.
2. Press the Delete key on your keyboard to remove the selected background. You'll notice that the background has now been deleted, leaving you with a transparent background.
3. Alternatively, if you'd prefer to mask the background rather than delete it permanently, go to Layer > Mask Layer. This will create a mask, so you can always bring the background back if needed.
Step 5: Save or Export Your Image
1. Save your work by going to File > Save As, which will allow you to save the project with all layers intact.
2. If you want to export the image as a PNG (to preserve the transparent background) or as another format, go to File > Export and select your desired file format.
Removing backgrounds in Affinity Photo can become second nature with practice, offering flexibility and control over each element of your image.
Part 2: What Is Affinity Photo & What Can It Do?
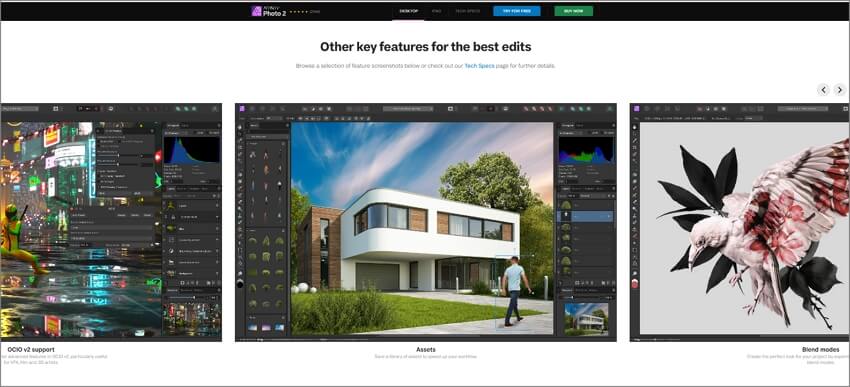
Affinity Photo is a powerful, professional-grade photo editing software that has gained popularity among photographers, designers, and hobbyists for its extensive features and affordability. With a one-time payment model, Affinity Photo delivers a range of tools that are comparable to Adobe Photoshop, making it accessible and cost-effective.
1. What's Affinity Photo?
Developed by Serif, Affinity Photo is a versatile photo editing tool that supports various editing tasks, from basic adjustments to advanced manipulations. The software is available for Windows, macOS, and iPad, giving users flexibility across multiple devices.
2. Key Features of Affinity Photo
The Affinity Photo boasts several impressive features, including:
Inpainting Brush: Affinity Photo's inpainting brush is perfect for removing unwanted objects and seamlessly blending surroundings.
Advanced Selection Tools: Affinity Photo includes tools like the Selection Brush Tool, Magic Wand, and Pen Tool, which make background removal and other intricate selections easier.
Layer-Based Editing: With full layer support, Affinity Photo allows you to work non-destructively, managing multiple layers of adjustments, masks, and effects.
High Dynamic Range (HDR) Merge: HDR merge in Affinity Photo lets you blend several images to create one with extended dynamic range, making it ideal for landscapes and other high-contrast scenes.
RAW Processing: The software offers a robust RAW editor for photographers who want to work with uncompressed image files, giving them more control over exposure, color correction, and detail.
Focus Stacking: For macro and product photography, the Focus Merge tool helps blend multiple images with different focus points to create sharp, in-focus images.
In addition to background removal, Affinity Photo is equipped to handle a broad range of editing needs, making it an all-in-one software for creatives.
Part 3: Easiest Alternative to Affinity Photo for Removing Background from Image
While Affinity Photo offers excellent tools for removing backgrounds, there are times when a quicker, online solution might be preferred. AnyRecover AIRepair is an AI-powered online tool that makes background removal simple and accessible without requiring extensive editing knowledge or software downloads.
With AIRepair, you can experience removing backgrounds from images with one click in seconds. It also supports batch process, which means you can remove backgrounds from multiple photos simultaneously.
AIRepair - Best Alternative to Affinity Photo Background Remover
- Background Removal in 1 Click: No need for complex procedures to delete unwanted backgrounds; AIRepair can remove backgrounds from images in 1 click.
- Fast and Automatic: It automatically detects the subject and removes the background, making it fast and straightforward for background removal.
- High-Quality Results: It's AI-driven algorithms provide precise results, producing clear separations even with complex backgrounds or detailed edges.
- Web-Based Access: As an online tool, it requires no software download, so you can use it from any device with an internet connection.
- Additional Editing Options: It also offers photo upscaling and enhancement options, allowing you to further refine your image quality.
With AIRepair, you simply upload your image, let the AI process it, and download the finished product, complete with background removal. This makes it an excellent alternative to Affinity Photo background remover for quick tasks and on-the-go editing. Here are the step-by-step guides:
Step 1. Upload Photos to Remove Background
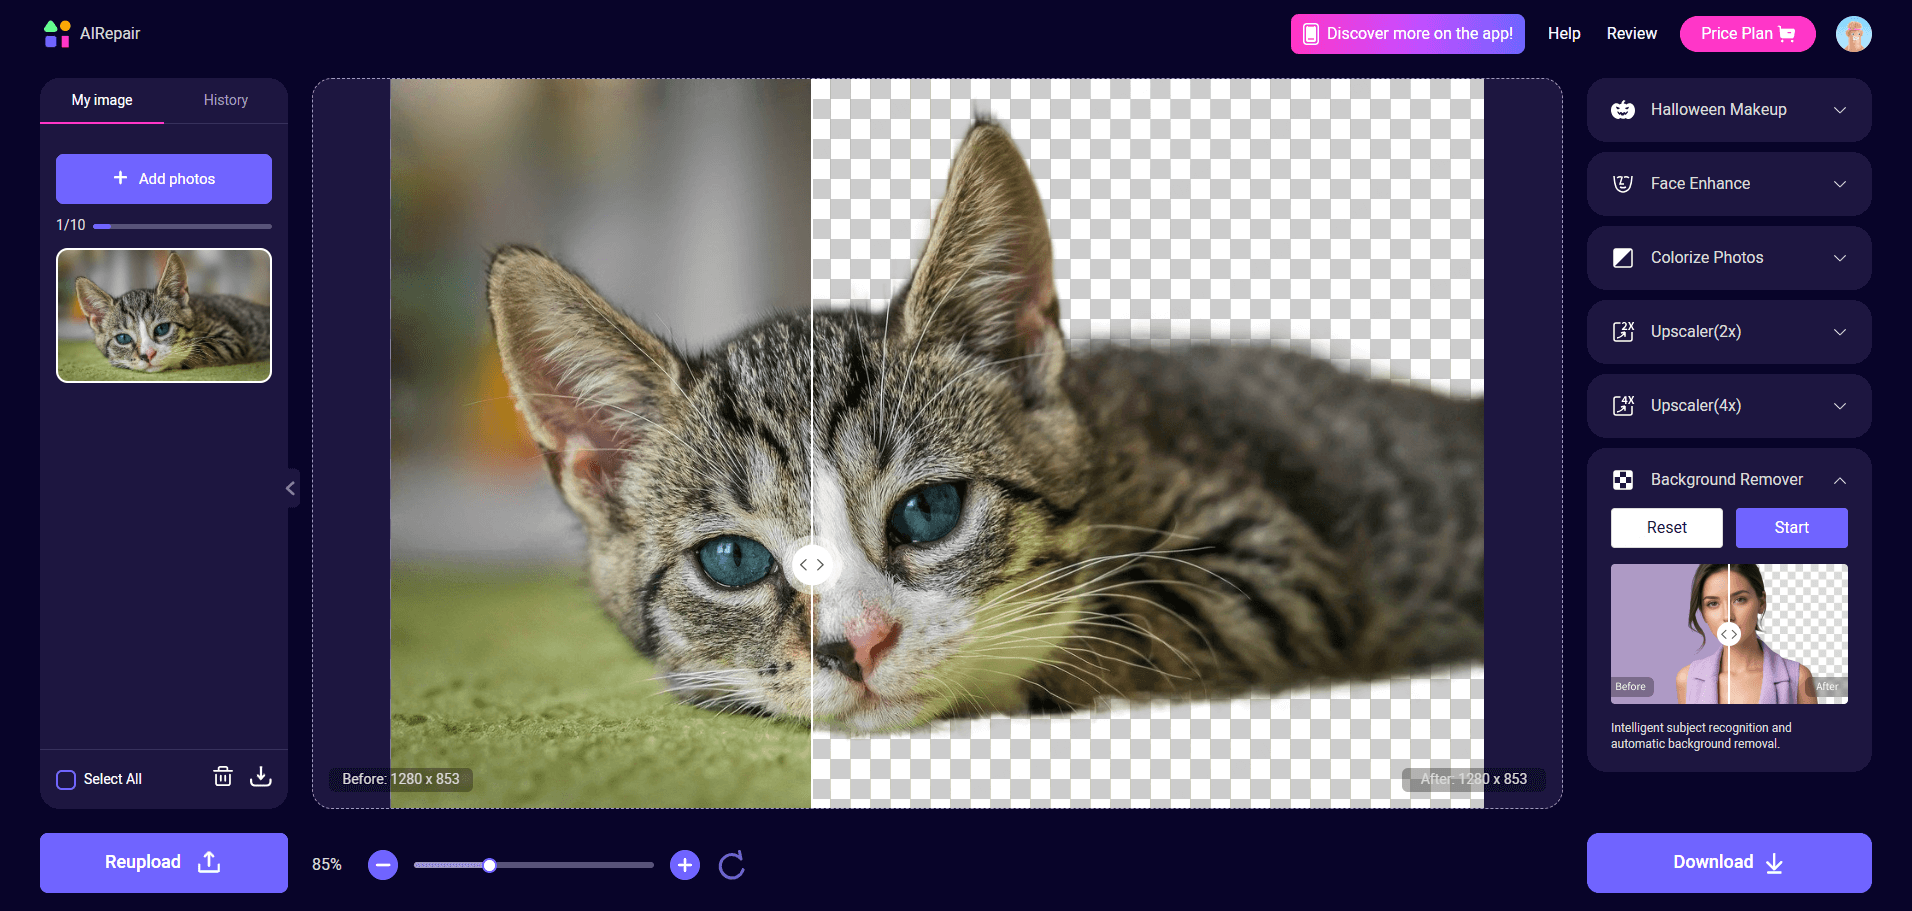
Click the "Try It Free" button to access the AIRepair background remover. Select "Remove Background from Image" to upload the photos you wish to remove backgrounds.

Step 2. Select the Background Remover Option
Once you upload the photo, choose "Background Remover" > "Start". AIRepair will automatically detect the whole photo and remove background from image.

Step 3. Save Photo
After finishing the background removal, you can click "Download" to save the photo to your device.
Conclusion
Removing backgrounds is a valuable skill that enhances your images and adds versatility to your projects. With Affinity Photo remove background, you can handle complex backgrounds and edges with precision and produce high-quality images that are ready for any use. For those who prefer full control of layer-based editing and advanced refinement tools, Affinity Photo provides a powerful platform to refine your images meticulously.
On the other hand, if you're looking for a simpler and faster alternative, AIRepair provides an efficient solution for online background removal without sacrificing quality. Whether you're using Affinity Photo for advanced projects or turning to AIRepair for quick edits, both tools offer reliable ways to create beautiful, high-quality images with ease.
Related Articles:
- [Fixed] How to Recover Deleted Call Recording on Android
- How to Fix Audio Format EAC3 Not Supported in MX Player?
- Solved: How to Recover/Repair Corrupted Video File [MP4 & MOV]
- How To Create and Recover Telegram Account?
- How To Delete Old WhatsApp Messages For Everyone? [iPhone/Android]
- How to Edit a PDF in Word? [Simple]
- Most Popular Halloween Filter and Effect in 2024
- How Does Google Photo Remove Background - Detail Guide in 2024
- How to Convert Picture to PDF on iPhone?
Time Limited Offer
for All Products
Not valid with other discount *

 Hard Drive Recovery
 Deleted Files Recovery
