
 Hard Drive Recovery
 Deleted Files Recovery
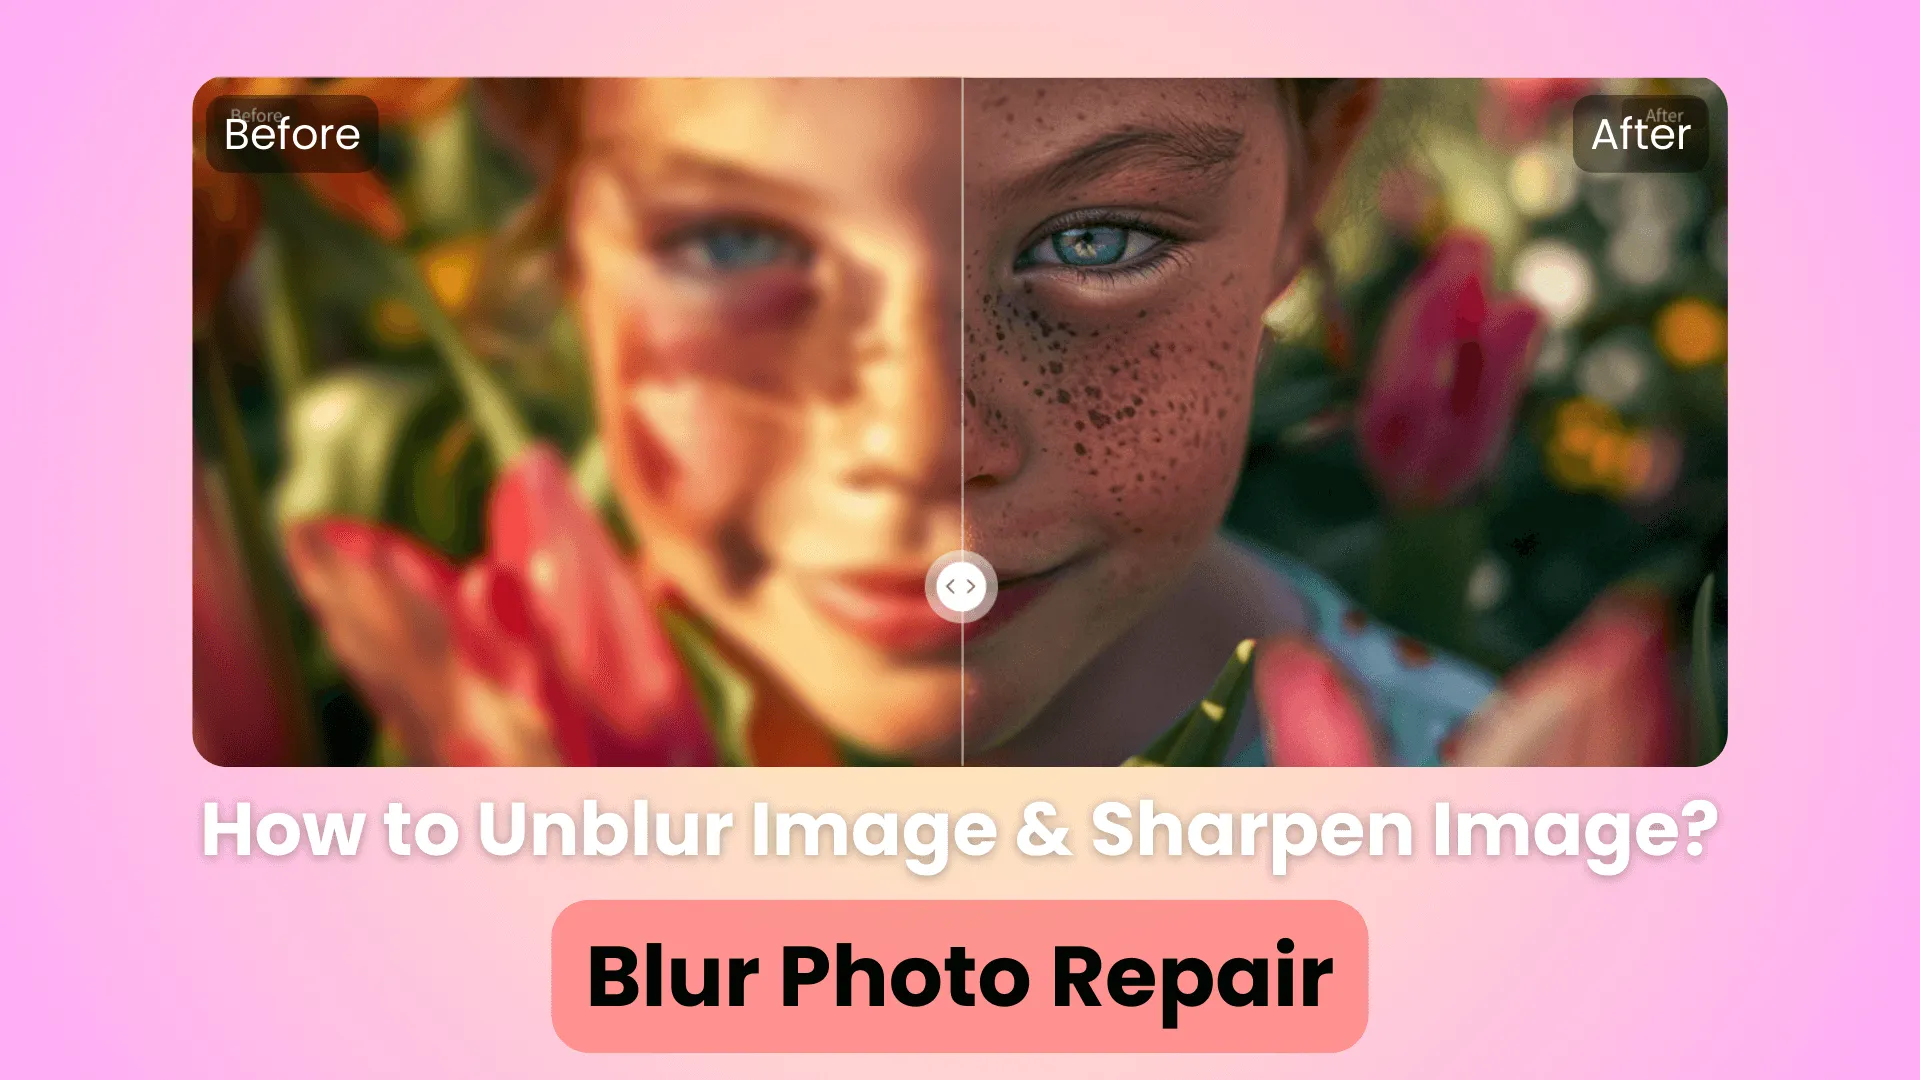
How to Unblur Images - Best Way for Blur Photo Repair in 2024

Blurred photos can be frustrating, often capturing precious moments that become mere smudges on the canvas of life. However, with the right techniques and tools, these cherished memories can be revived, revealing their true clarity and vibrancy.
In this comprehensive guide, we'll explore the world of blur photo repair, equipping you with the knowledge and skills to transform those hazy snapshots into sharp, captivating images.
Part 1: Can I Make Blur Photos Clear?
Yes, you can unblur photos and make them clearer. Many picture editing tools, like Photoshop, enable users to convert blurry photos to sharpen and clear. Also, advancements in technology have offered us AI solutions that can automatically repair blurred photos with one click. Whether caused by camera shake, subject movement, or focusing issues, these once-frustrating imperfections can now be addressed with remarkable precision.
Part 2: How to Unblur Image Online Free?
There are many methods to repair blurred photos, and we will introduce 3 effective ways to do this.
Method 1: Use a Dedicated Photo Repair Tool [Quickest] - AnyRecover AIRepair
AnyRecover AIRepair is an advanced photo file repair online tool, that can harness the power of AI technology to repair blurry images with ease. It can recover any type of corrupted files, including blurred photos. It has a high recovery rate and one of the quickest speeds to repair files among the file repair tools in the market.
AIRepair Online offers users a free trial for guests and newly registered users, so you can try it for free to see if the effects meet your requirements. Apart from converting blurry photos to sharpener and clearer, it also supports other powerful AI tools, including colorizing black-and-white photos, removing backgrounds from images, enlarging pictures to 8K without losing details, and many more features.
AnyRecover AIRepair – Best Way to Make Blurry Photos Clearer
- Repair blurry photos in one click, removing face blur from photos online.
- It supports batch process, allowing you to unblur and sharpen multiple images simultaneously.
- With built-in advanced AI algorithms, you can colorize vintage photos, remove backgrounds of images, upscale pictures to 2x and 4x, automatically apply Halloween makeup to your photos, etc.
- This tool offers free trials, enabling the guests and newly registered users to try its effect.
- Equipped with an intuitive interface, it is easy to use.
How to Repair Blurry Photos Online Free with AIRepair?
Step 1: Go to the AIRepair Online website on your preferred browser and click the Choose Files button. After that, select the blurred photo you wish to repair.

Step 2: After the photo is uploaded, this tool will automatically sharpen the blurry photos; you can also choose other AI tools to enhance the photo.

Step 3: Once you're satisfied with the enhanced photo, you can click Download to save it to your device.
AIRepair Application - Advanced Damaged File Repair Tool
If you accidentally find your files are corrupted and unreadable, AIRepair is your best choice to fix the corruption in files. It supports fixing videos, photos, and other document files. Whether they are damaged due to system crashes, incomplete downloading, unstable internet connection, etc., this software is dedicated to effortlessly repairing the damaged files in one click.
Method 2: Use Photoshop to Sharpen Images
Adobe Photoshop, the industry-standard image editing software, offers a range of tools and techniques for blur photo repair. While slightly more complex than dedicated deblurring tools, Photoshop provides greater flexibility and control over the repair process.
Step 1: Open your blurred photo in Photoshop.
Step 2: Create a duplicate layer of the image to preserve the original.
Step 3: Utilize the "Smart Sharpen" filter or the "Unsharp Mask" tool to enhance the sharpness and clarity of the image.

Step 4: Experiment with different settings, such as the "Radius" and "Amount" sliders, to achieve the desired level of sharpness.
Step 5: If necessary, use the "Deblur" filter or the "Shake Reduction" tool to address specific types of blur, such as motion blur or camera shake.
Step 6: Utilize layer masks to selectively apply the sharpening effects to specific areas of the image.
Step 7: Adjust the overall contrast, brightness, and color balance to further enhance the repaired photo.
Step 8: Save the edited image in your preferred file format.
Method 3: Repair Blurry Photos on Android and iOS Camera Apps
Many modern smartphone camera apps now offer built-in blur repair features, allowing you to fix blurred photos on the go. While these tools may not be as powerful as dedicated software, they can be handy for quick fixes and minor adjustments.
Step 1: Open the Camera app on your Android or iOS device.
Step 2: Navigate to the photo gallery or album containing the blurred photo.
Step 3: Select the blurred photo and look for editing options or filters related to sharpening or deblurring.
Step 4: Apply the appropriate filter or adjustment to enhance the clarity of the image.
Step 5: Fine-tune the settings, if available, to achieve the desired level of sharpness.
Step 6: Save the edited photo to your device's gallery or share it directly from the app.
Part 3: Root Cause of Blurry Photos
Understanding the root causes of blurred photos can help you prevent them in the future and make more informed decisions when repairing existing blurred images. Here are some common reasons why your photos may appear blurry:
Camera Shake: Even the slightest movement of the camera during exposure can result in motion blur, especially in low-light conditions or when using a slow shutter speed.
Subject Movement: Fast-moving subjects, such as people or animals, can appear blurred if the shutter speed is too slow to freeze their motion.
Focusing Issues: If the camera's autofocus system fails to lock onto the intended subject or if the focus is manually set incorrectly, the resulting image may appear out of focus or blurred.
Lens Limitations: Certain lenses, especially those with a narrow aperture or low-quality optics, may struggle to produce sharp images, leading to softness or blur.
Atmospheric Conditions: Haze, fog, or atmospheric distortions can affect the clarity of distant subjects, resulting in a blurred or hazy appearance.
Image Compression: Excessive compression or resizing of digital images can introduce artifacts and blur, degrading the overall image quality.
Part 4: How to Avoid Blurry Photos?
While blur photo repair tools can be incredibly useful, prevention is always better than cure. Here are some tips to help you capture sharp, blur-free photos from the start:
Use a Tripod: Mounting your camera on a sturdy tripod can eliminate camera shake, especially in low-light conditions or when using slow shutter speeds.
Increase Shutter Speed: Adjust your camera's shutter speed to a faster setting, which can help freeze motion and prevent blur caused by subject movement.
Focus Carefully: Take the time to ensure your subject is in sharp focus by using the camera's autofocus system or manually focusing with precision.
Use Image Stabilization: Many modern cameras and lenses feature built-in image stabilization systems that can help reduce the effects of camera shake.
Shoot in Bright Light: Adequate lighting can help you use faster shutter speeds and smaller apertures, resulting in sharper images with greater depth of field.
Adjust ISO: Increasing the ISO sensitivity can allow you to use faster shutter speeds, but be mindful of potential noise or grain in the resulting images.
Practice Proper Technique: Develop good habits, such as holding the camera steady, using a shutter release cable or remote, and breathing properly during the exposure.
Conclusion
Blurred photos no longer have to be a source of frustration or disappointment. With the powerful tools and techniques outlined in this guide, you can breathe new life into your cherished memories, transforming hazy snapshots into sharp, vibrant images that capture the essence of the moment.
Whether you choose dedicated blur photo repair tools like AnyRecover AIRepair, the versatility of Photoshop, or the convenience of smartphone camera apps, the path to repair blurry images is within your reach. Learn about these solutions, and let your photos tell the stories they were meant to, with clarity and precision.
Related Articles:
- [2024 Review] Does RePicvid Free Photo Recovery Work?
- [Solved] File Explorer Keeps Crashing When Right Clicking
- How to Fix "Drive is Not Accessible" Error in Windows 11/10/8/7
- [2024] Fix Map Network Drive Not Showing in Windows 11/10/8/7
- [2024] How to Recover CHK Files from Found.000 Folder?
- Fixed: Blue Screen When Playing Games in Windows 7/8/10/11
- Error 0x80010135: Path too Long? 4 Effective Fixes in 2024
- What is Lost Partition/Lost Disk in AnyRecover
- How to Fix Low Resolution Photos 2024 - 3 Proven Ways!
- Best Way to Repair Broken MP4 Video Files with Simple 4 Steps in 2024
Rated successfully!
You have already rated this article, please do not repeat scoring!
![]()
![]()
![]()
![]()
![]()
![]()
![]()
![]()
![]()
![]()
![]()
![]()
Copyright © 2025 AnyRecover. All rights reserved.
Time Limited Offer
for All Products
Not valid with other discount *