Mac Trash Guide: Can I Recover Deleted Files in Recycle Bin Macbook
Are you a Mac user looking for guidance on managing files in the recycle bin or trash can? This article provides a comprehensive guide on finding the recycle bin on a Mac, deleting files using the trash can, and recovering deleted files from the Mac trash can. Whether you own a Mac Pro or MacBook, we have you covered.
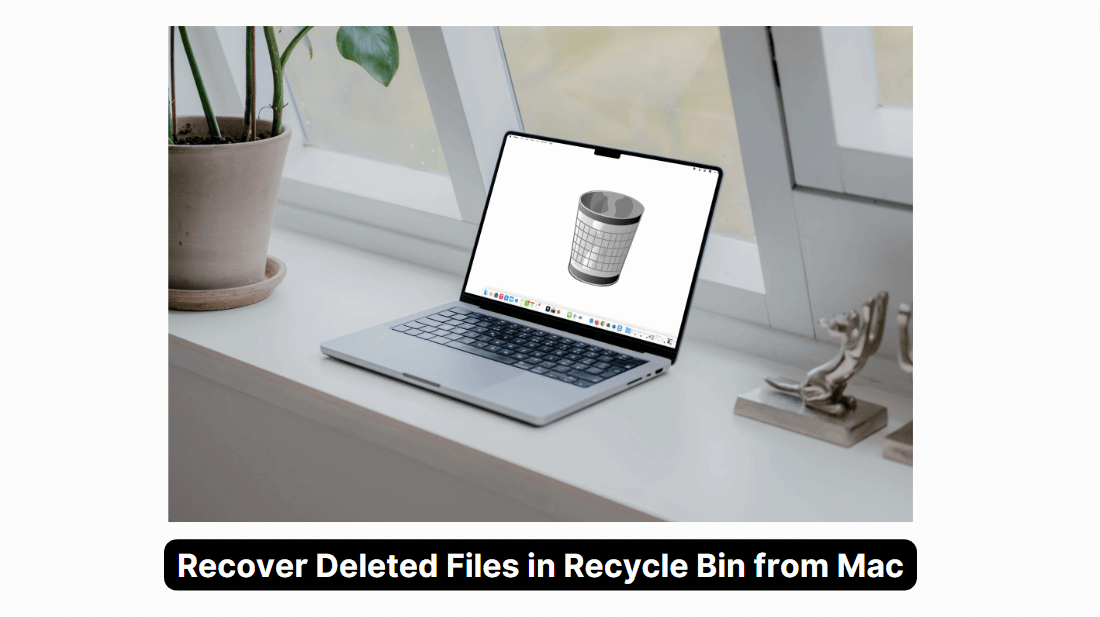
Part 1. Where Is "Recycle Bin" on Mac?
On a Mac, the recycle bin is referred to as the "trash can." It serves as a temporary storage location for deleted files before their final removal from the system. The recycle bin or trash can can be found on your Mac's desktop or in the Dock, depending on your personal preferences.
Part 2. How to Delete Files with Trash?
Deleting files using the trash can is a straightforward process. You can send files to the trash can in multiple ways:
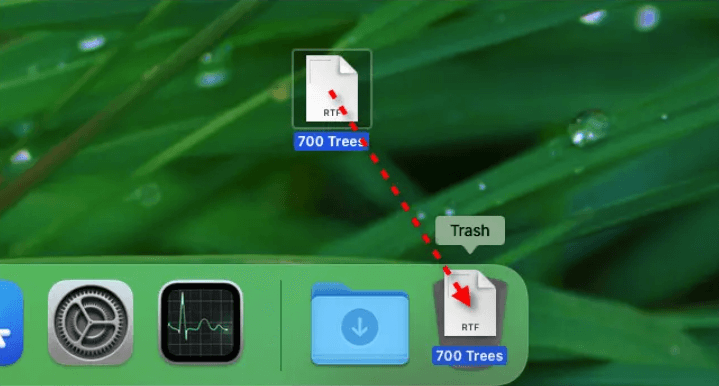
1. Drag and drop files to the trash can icon on the desktop or in the Dock.
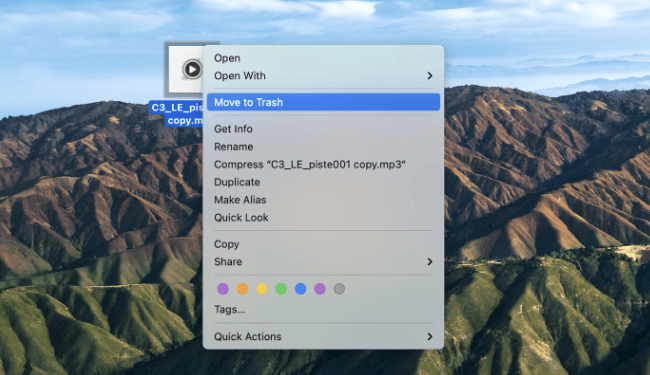
2. Right-click on a file and select "Move to Trash."
3. Use keyboard shortcuts, such as Command + Delete, to move files to the trash can.
It's important to note that moving files to the trash can doesn't permanently delete them; it only marks them for eventual removal.
How to Recover Deleted Files in Mac Trashcan?
Solution 1: Recover from trash can
Recovering Deleted Files in Mac Trash Can If you accidentally delete a file and want to recover it from the trash can, follow these steps:
1. Open the trash can by double-clicking on its icon.
2. Locate the deleted file(s) you wish to recover.
3. Right-click on the file(s) and choose "Put Back" to restore it to its original location.
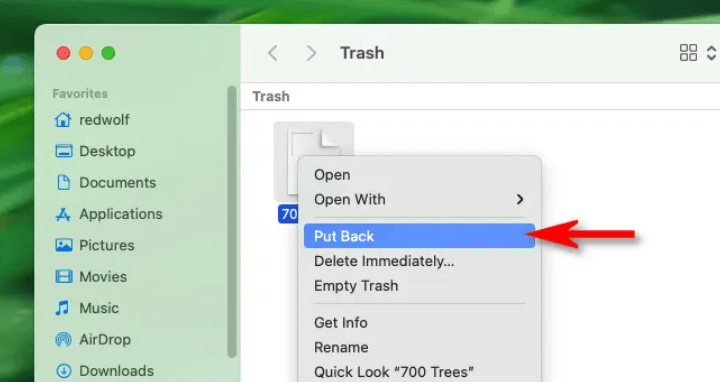
4. Alternatively, you can drag and drop the file(s) to another location on your Mac.
In some cases, if you have emptied the trash can or used the "Secure Empty Trash" option, you may need to rely on third-party file recovery software to retrieve your deleted files. Some recommended options include Disk Drill, Data Rescue, and EaseUS Data Recovery Wizard.
Solution 2: Recover with Data Recovery Software
Now we will tell you the best method to recover files after reinstalling windows with AnyRecover.
AnyRecover is a professional data recovery software that is built to recover all your lost data after reinstalling Mac in a fast and efficient way. It is capable of restoring any type of data like files, folders, videos, music, documents etc.
AnyRecover’s user-friendly interface and fast data scanning algorithm will make the data recovery process a cakewalk for you!
Key Features
- Recover files that are lost/deleted due to Windows re-installation, virus/spyware, hardware failure, and/or other reasons.
- AnyRecover can recover files of virtually all types including photos, archives, videos, documents, emails, etc.
-
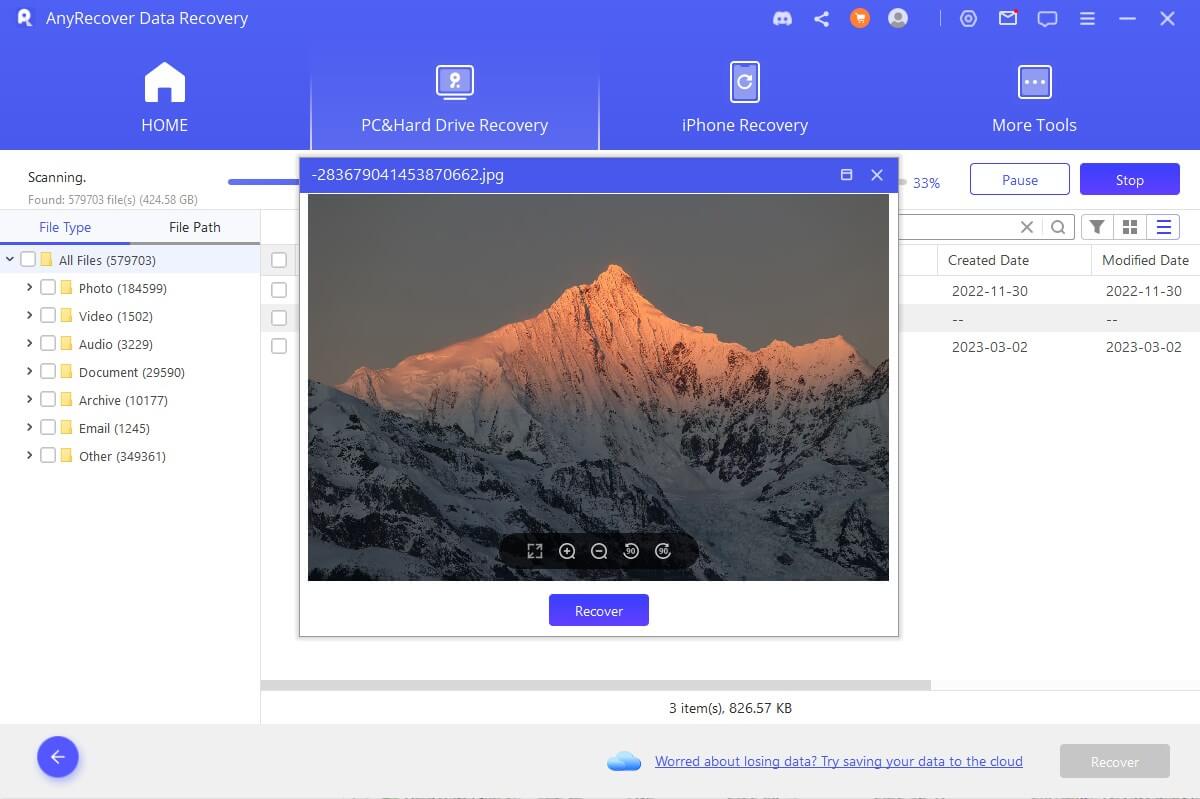
Preview specific recoverable files so that you can recover them selectively.
You can follow these steps to Recover Files after Reinstalling Windows
Step 1. Launch iMyFone AnyRecover. Run it and select a disk under the “I can't find my partitions” tab.
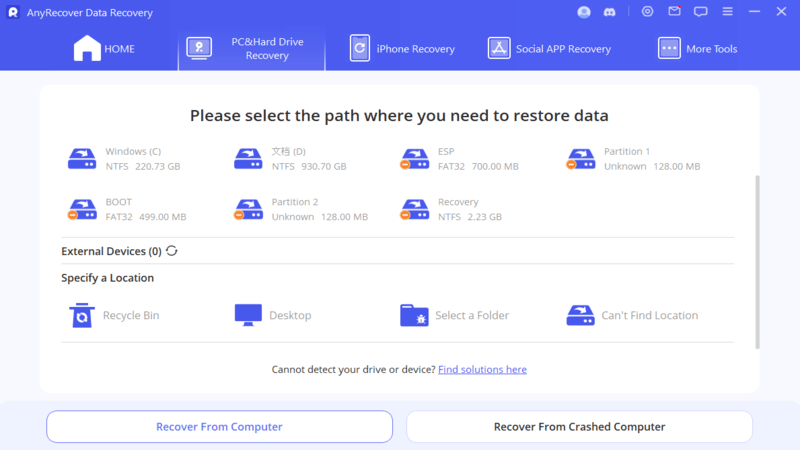
Step 2. Select a partition and click “Scan” to start finding data.
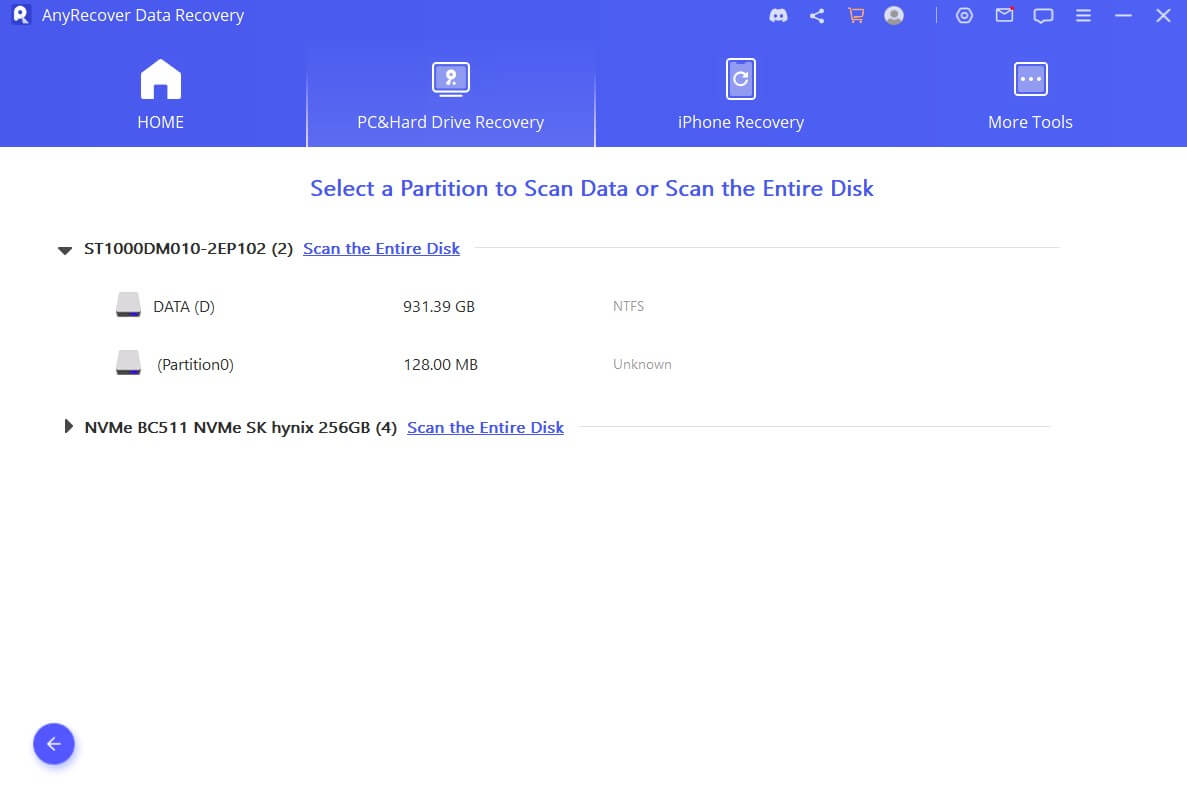
Step 3. It will begin an all-round scanning process. It will take a few minutes to scan your selected partition.
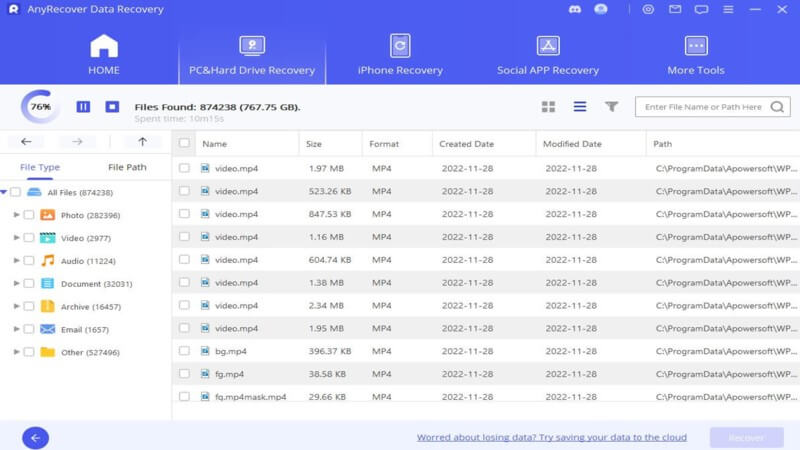
Step 4. Once it finishes, you can check and preview the found files. Then you can get you lost files back by clicking on "Recover" button.
Tips for Successful and Efficient Recovery
-
Save the recovered files in a different location otherwise they may become irrecoverable.
-
Once you have started the recovery process, don't interrupt it.
-
Preview the files that you wish to recover, it will save time and storage space as you will only recover the files that you need.
Video Tutorial to recover emtied trash Mac.
Conclusion
Managing the recycle bin (trash can) on your Mac Pro or MacBook is a fundamental skill. By understanding where to find it, how to delete files using the trash can, and how to recover deleted files from the Mac trash can, you can effectively manage your files and maintain data integrity on your Mac.
Remember to exercise caution while deleting files, and if necessary, consider utilizing reliable file recovery software for retrieving accidentally deleted files.
Time Limited Offer
for All Products
Not valid with other discount *
 Hard Drive Recovery
 Deleted Files Recovery

