What Should I Do If BIOS Failed to Update? [2024]
Anyone using the computer will love to upgrade the PC performance to enjoy the best experience of using the computer. Updating the BIOS system of the computer is one of the best ways to enhance the compatibility, security, and performance of the computer.
Unfortunately, many people have complained about the "BIOS failed to update" issue, and there could be various reasons behind this chaos. Jump into this guide to know what you should do when the BIOS failed to update.
Part 1. Why does BIOS Update Failed?
There could be various issues behind the "BIOS update failure" issue, and a few of the most common ones are given below.
-
You're using the incorrect BIOS configuration to update the BIOS.
-
An unsupported BIOS version could also create the issue you're having.
-
Motherboard issues or a corrupted Windows operating system might also prevent you from updating the BIOS.
Part 2. How to Fix BIOS Failed to Update?
1Update BIOS through USB drive
You can also fix the "BIOS failed to update" issue by updating the BIOS through a USB drive.
Step 1: To do it, you'll need to create a bootable USB drive, and since the BIOS is the executable file, it should run under the operating system.
To establish the bootable USB drive, you'll need to rely upon the Dell Diagnostic Deployment Package (DDDP).
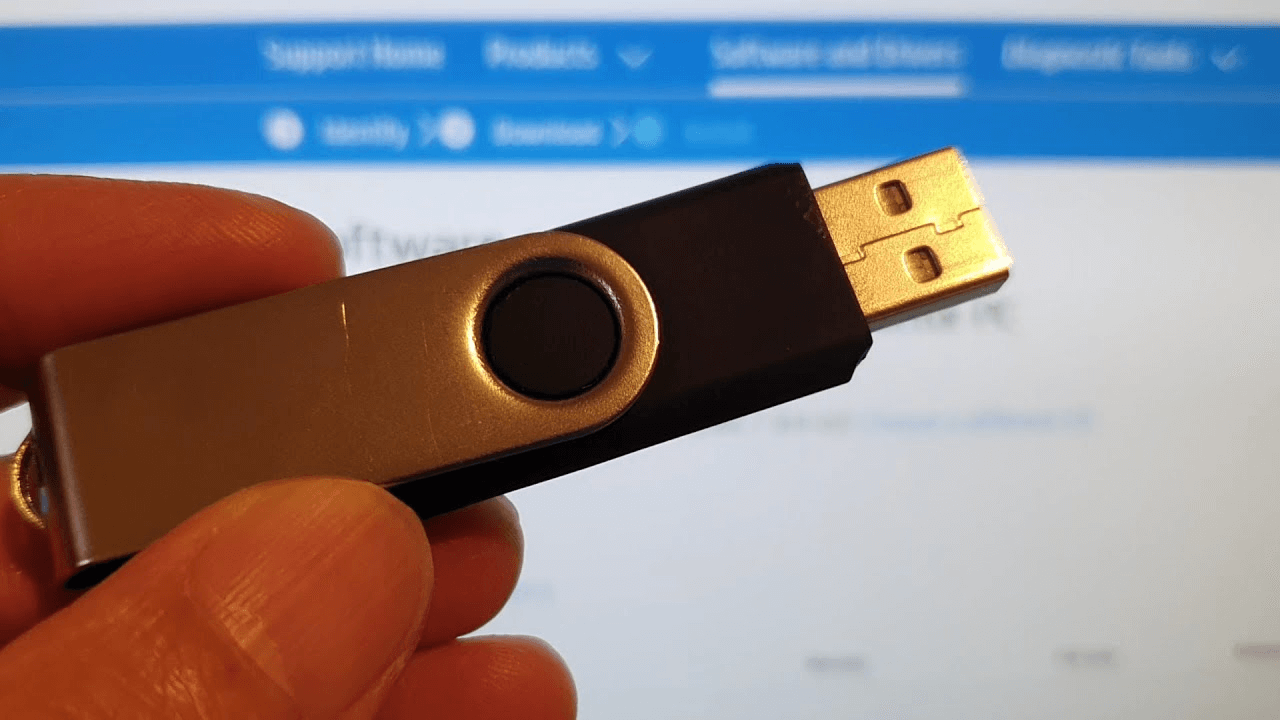
Step 2: Download your correct BIOS file suited for the Dell PC model and place your file into the USB drive. In this step, writing down the executable BIOS file's name for future use is recommended.
Next, you'll need to power off your Dell PC before connecting the USB drive to your computer.
Step 3: Restart the Dell computer before pressing the F12. Doing so will help you to launch the boot menu. Select the USB storage device and press the Enter icon.
2Recover BIOS
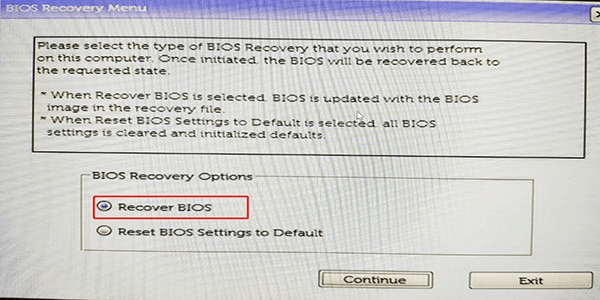
If the BIOS becomes corrupted, you can initiate recovering it.
Step 1: To start with, you'll need to restart the Dell PC and press the Ctrl+ESC key until you see the BIOS Recovery screen.
Step 2: Release your Ctrl key+ and Esc key and visit the BIOS Recovery Screen. Press the Enter icon after clicking the Reset NVRAM icon.
Step 3: Select the Disabled button and hit the Enter icon to save the BIOS settings. Click on the Enter icon after selecting the Recovery BIOS button.
3Reset CMOS
Resetting the CMOS could be helpful in tackling the "the system BIOS update failed" issue.
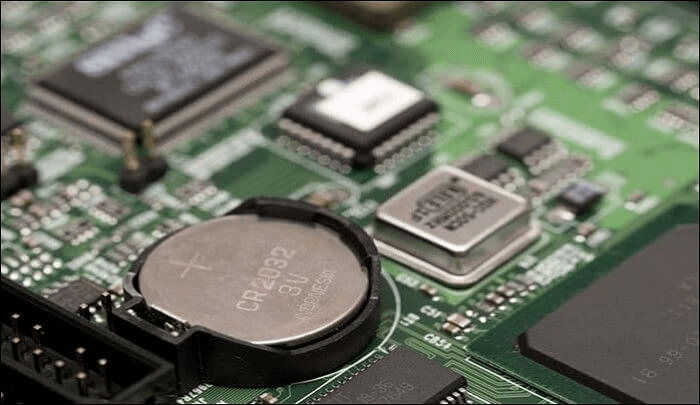
Step 1: Unplug the power cable and shut down the computer. Press and hold your power button to discharge the PC.
Step 2: Launch the PC casing before removing the CMOS battery. Reinstall the battery and see how it goes.
4Restart the computer
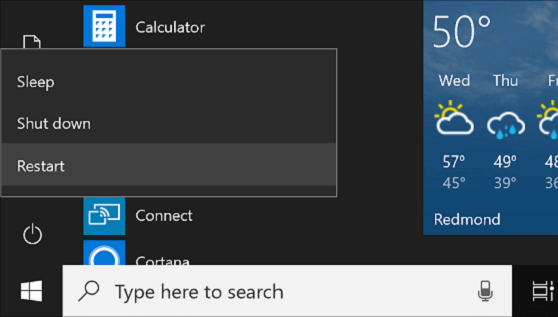
Restarting the PC might assist you in fighting the various software bugs, allowing you to fix the "BIOS failed to update" issue. Here's the step by step guide to restart the PC.
Step 1: Navigate to the Start button and click on the Power icon.
Step 2: Select the Restart icon from the appearing menu, and this will assist you in restarting the computer.
5Perform Automatic/Startup Repair
Windows comes up with a built-in repair mechanism to fix the boot issues. It can repair the broken or damaged files after detecting them. You've got the chance to resolve the booting problems if the BIOS update doesn't work appropriately.
Follow the detailed guide below to learn how to perform the startup or automatic Repair.
Step 1: Restart the computer after inserting the bootable flash. Access the boot menu by pressing the F8 to alter the boot order.
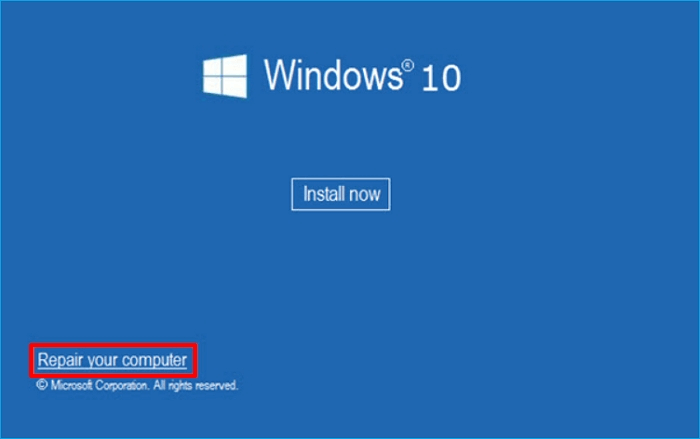
Step 2: Start your installation and click on the Preferences button. Hit the Next icon to begin the proceedings.
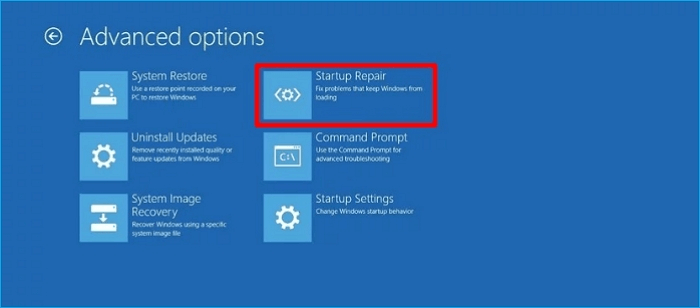
Step 3: Choose the Repair your computer icon and select the Troubleshoot button. Move ahead by hitting the Advanced Option.
Step 4: Choose the automatic/startup repair after visiting the advanced options. Follow the on-screen instructions to get the work done.
Part 3. How to Recover Lost Data Due to BIOS Update Failure?
If the "BIOS failed to update" issue has caused the data loss, you can restore all the lost data thanks to AnyRecover. It is one of the best data recovery tools that allows you to get back the 1000+ types of data.
AnyRecover Key features include:
- AnyRecover is a program that can help you recover deleted, lost or formatted files from any device.
- Quickly and securely recover data on your computer due to crashes, hard drive issues, file corruption, etc.
- AnyRecover is abled to recover over 1000+ different types of data, including photos, videos, documents and emails, etc.
- You could also preview your data before recovering it.
- This software is developed to recover all the data in its original form without overwriting it.
- 100% safe and easy to use.
Here's how to recover from failed bios update
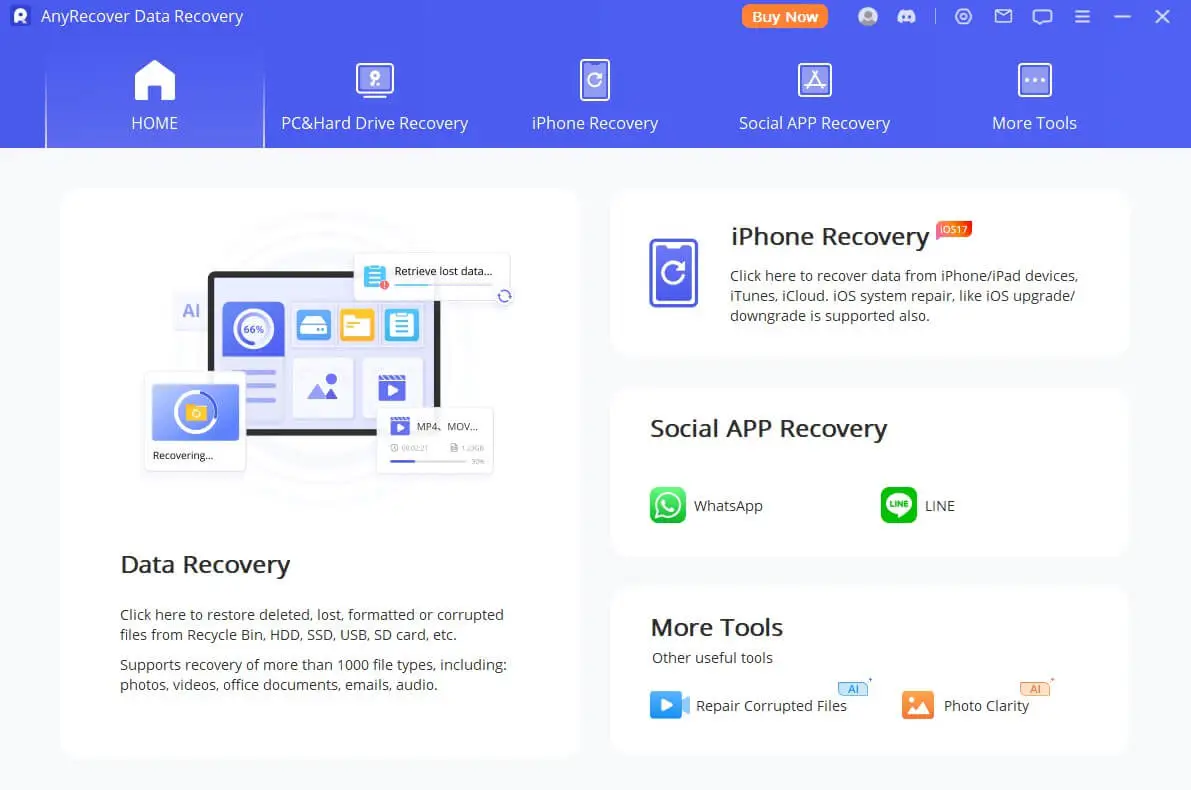
Step 1 Launch the AnyRecover on your computer and select the Data Recovery button. Select the folder from which you've lost the files.
Step 2 Now, AnyRecover starts scanning for the lost data, and it will only take a few moments.
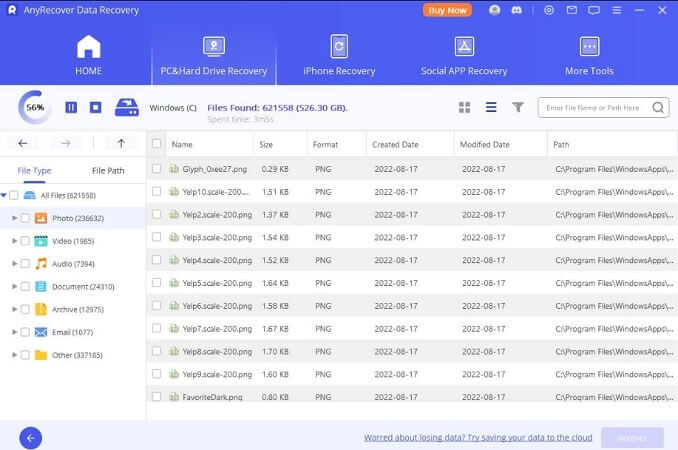
Step 3 Preview the data and tap on the Recover icon to get the lost data recovered.

Now you can click on the "Try It Free" to get back your lost data.
Part 4. FAQs About BIOS Update Failure
1How to Avoid BIOS Update Failure?
You can avoid the BIOS update failure by using the surge protector or reliable power source when updating the BIOS. Disabling the automatic updates or power saving feature is recommended to prevent the "BIOS Update failed" issue.
2What do I do If Dell bios update fails?
If you're facing the "Dell BIOS update fails" issue, you can try fixing the issue by updating the BIOS by using the hard drive. You can also restart the computer and then try installing the BIOS update again to see how it goes.
3What do I do if the HP bios update failed?
If you're struggling to update the BIOS in the HP computer, you'll need to run the HP Support Assistant before checking the PC for the BIOS issues. HP support assistant will surely help you to fix the issue you're currently having.
Summary
The arrival of the "BIOS failed to update" issue can end up affecting the performance of your computer. Luckily, we've introduced the five brilliant ways to assist you in fixing the "BIOS update failed" issue. You can go for the AnyRecover provided "BIOS upgrade failed" issue prompts the data loss. It is the most recommended data recovery tool that helps you to retrieve lost data quickly.
Related Articles:
Time Limited Offer
for All Products
Not valid with other discount *

 Hard Drive Recovery
 Deleted Files Recovery
