Fix Bootrec /fixboot Element Not Found in Windows 11/10/7[2024 Guide]
The "bootrec fixboot element not found" issue is no longer annoying when booting the system. You may face this unwanted scare when entering the "bootrec/fixboot" in the command prompt.
You might have entered this command in the command prompt to dismantle the Windows related issue. The issue could become a headache as it prevents you from using the computer and performing its different operations.
However, you don't need to worry about this issue as we'll introduce brilliant ways to fix the "bootrec/fixboot element not found on Windows" issue.
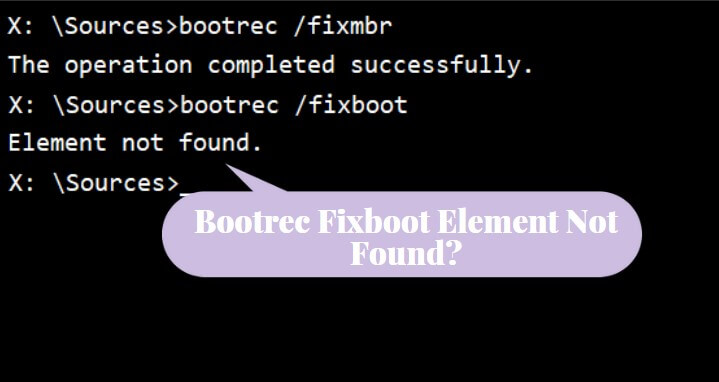
What Causes Bootrec /Fixboot Element Not Found?
If you're facing the "bootrec/fixboot element not found Windows7/10" issue, you can watch out for the reasons listed below causing the issue.
1.Inactive system partition
If you didn't set the system partition to active, it could cause chaos.
2.No drive letter for EFI partition
While turning the MBR to GPT, the boot files are stored on the EFI partition. If you don't assign a drive letter to the EFI partition, it might be the main culprit.
3.Damaged MBR or BCD
If you didn't set the system partition to active, it could cause chaos.
The Best Way to Recover /Fixboot Element Not Found in Windows
When the "bootrec fixboot element not found" issue occurs, it could end up causing data loss. AnyRecove emerges as the best tool to retrieve lost data and doesn't mess up with the data quality.
Besides allowing you to recover 1000+ data types, AnyRecover supports almost all storage devices, offering a simple user interface.
AnyRecover Key features include:
- Supports multiple storage devices including SD card, USB drive, external hard drive, and more.
- Compatible with Windows, Mac and iOS.
- You can retrive 1000+ files in various formats like gifs, videos, documents, archives, etc.
- Preview the data before getting it back.
- Prompts the highest recovery rate.
Recover Lost Data in Windows:
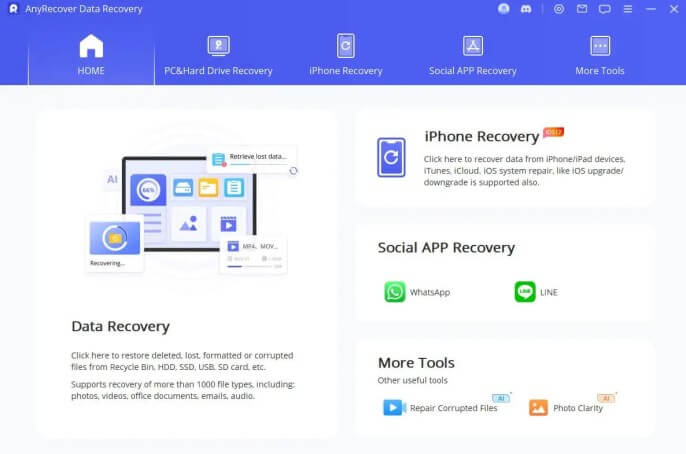
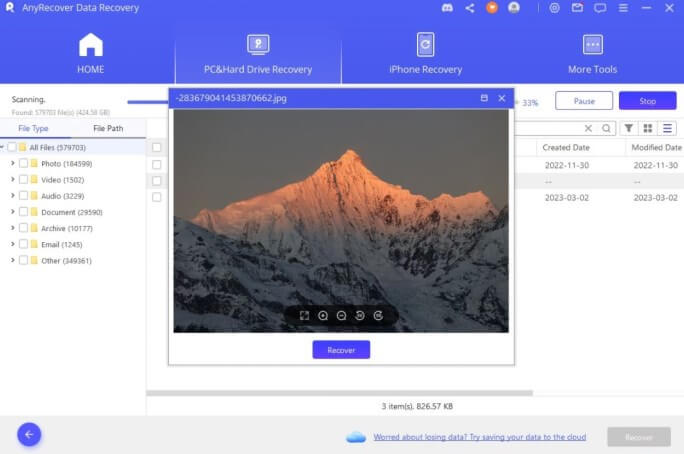
Step 1: Download and install the AnyRecover and choose the PC/ Hard Drive Recovery'' button after launching the AnyRecover. Navigate to the folder or location on the computer you've lost the files from.
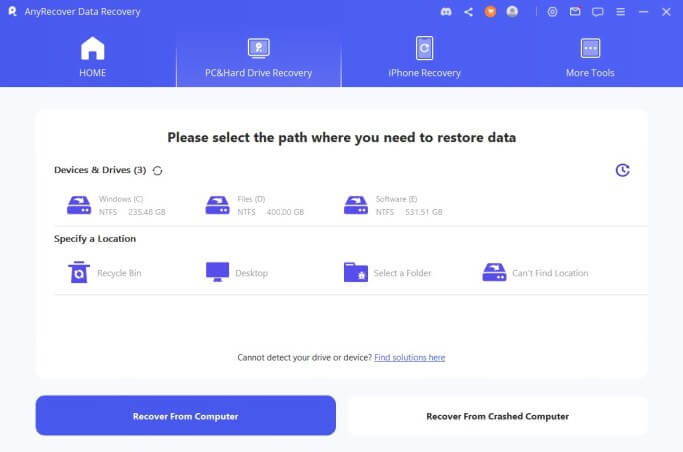
Step 2: Tap on the "Scan" icon to begin scanning for the lost data, and AnyRecover will scan for lost data.
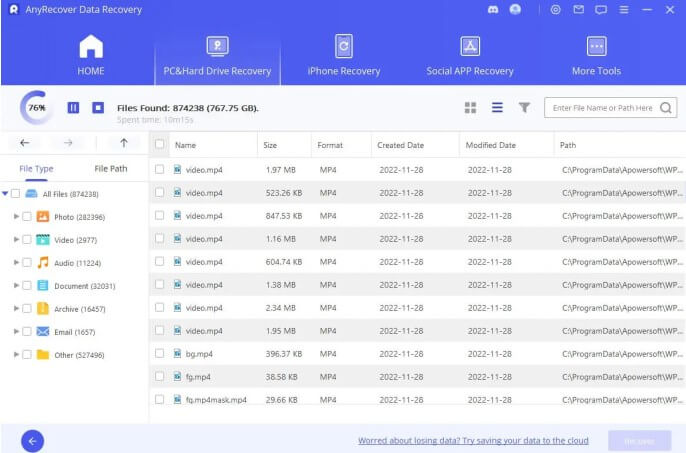
Step 3: Preview the data once the scanning process is completed and click on the "Recover" icon to get all the lost data back.
4 Methods For Bootrec Fixboot Element Not Found Error
Method 1. 1.Restore Windows to troubleshoot
Restoring the Windows to troubleshoot might help you eliminate the ''bootrec/fix element not found'' issue.
Here's how to do it.
Step 1: Visit the Windows Advanced Startup options by pressing the F11 button while turning on the PC. Next, you must boot off your install disk and press the Next button afterward.
Step 2: After booting the computer, you'll see Repair offering the secondary option. Tap on the ''Advanced'' icon after hitting the Troubleshoot button.
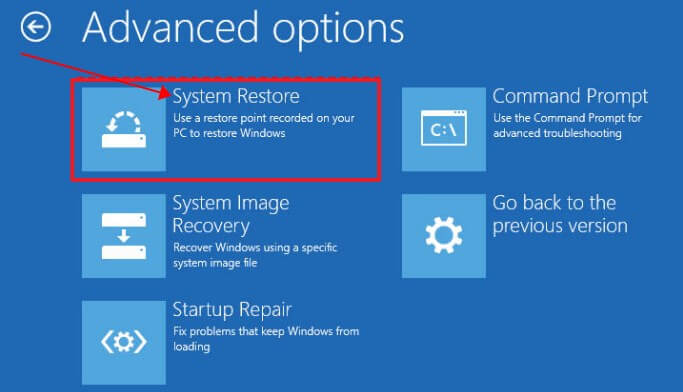
Step 3: Navigate to the System Restore and reboot the PC after jumping into the advanced option.
Step 4: Choose the user name before entering the password. Next, you'll need to navigate to the menu and select the restore point. Now, you can restore the system after following the on-screen instructions.
Method 2. Assign the drive letter to EFI partition
You assign the drive to EFI to fix the "bootrec fixboot element not found"" issue. Here's how to assign the drive letter to the EFI partition.
Step 1. To begin with, you'll need to establish the Windows bootable USB drive before plugging the USB drive into the computer. Proceed ahead by booting from it.
Step 2. Jump into the Windows setup page and select the preferred language. Tap on the Next icon to begin the proceedings.
Step 3. Select the Repair your computer link after going into the setup screen. Doing so will help you open the Advanced recovery option, where you can select the Troubleshoot button to enter into the "Advanced options".
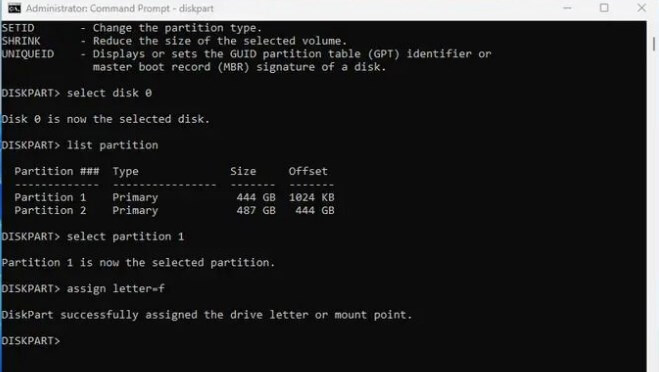
Step 4. Implement the following commands after launching the command prompt.
diskpart
list disk
select disk #(# represents for the disk that you facing the error)
list partition
select partition#(# represents the EFI partition)
assign letter=#(#represents the letter you want to assign)
Method 3. Activate System partition
Inactive system partition remains one of the most common causes behind the ''bootrec fixboot element not found'' issue. In this scenario, you only need to activate your system's partition after going into the Diskpart utility.
Step 1. To begin with, you'll need to create the Windows bootable USB drive before inserting the USB drive into your computer to boot from there.
Step 2. Select the preferred launch on your Windows setup page before hitting the Next icon.
Step 3. In this phase, you must watch out for an option to fix the computer on the Windows setup page's first screen. Press on it to access the Advanced Options page.
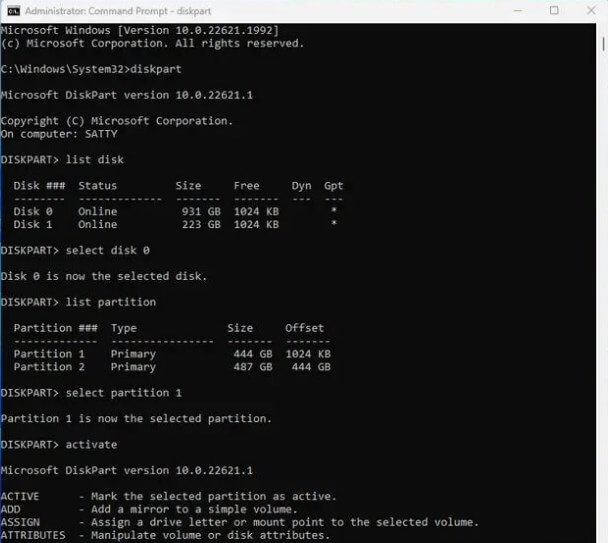
Step 4. You can now type in the following commands and execute all these apps individually.
diskpart
list disk
select disk # (# represents the disk you face the Error)
list partition
select partition#(# represents the system partition)
activate
Method 4. Repair BCD
Another reliable way to fix the "bootrec fixboot element not found" issue will be to repair the BCD.
Here's how to repair the BCD.
Step 1. Navigate to the Command prompt after launching it in the Windows search box.
Step 2. After launching the command prompt, enter the 'cd /d b:\EFI\Microsoft\.
B implies the drive letter of the drive.
Step 3. Click the Enter button after typing the ''bootrec/fixboot'' icon. Enter the ''ren.BCD BCD.bak'' and rename the BCD doke by hitting the Enter icon.
Step 4. Enter the 'bcdboot c:\Windows /l en-us /s b: /f ALL.' You can replace the b with the name of drive letter.

FAQs about Bootrec Fixboot Element Not Found
What if the Bootrec commands don't work?
If the Bootrec commands don't work, you won't be able to fix the Windows related issues. In this situation, you can try deleting and exporting the BCD before rerunning the command bootrec/rebuildbcd. Doing so will most likely fix the issue you're having.
When will you face Bootrec Element Not Found issue?
You may face the ''bootrec element not found'' issue while booting the device or running the ''bootrec/fixboot'' command in your command prompt. When this issue occurs, you won't be able to fix the problems halting the functioning of Windows.
Is it possible to solve Bootrec Element Not Found error?
You can fix the bootrec element not found error by setting the system partition to active, assigning the drive to the EFI partition, repairing the BCD, and restoring the Windows to troubleshoot the issue.
The Bottom Line
That's all we've had from this guide, where we've listed the brilliant solutions to fix the "bootrec fixboot element not found" issue. If the "bootrec/fixboot element not found on Windows" issue prompts the data loss, you can get the data recovered courtesy of the AnyRecove, which can restore all types of files on your devices.
Related Articles:
Time Limited Offer
for All Products
Not valid with other discount *
 Hard Drive Recovery
 Deleted Files Recovery


